18 Genius Craft Room Storage Ideas That Keep Every Supply Within Reach
Published: 31 Aug 2026
A cluttered craft room can turn a fun hobby into a frustrating hunt for missing scissors, tangled ribbon, or a lost bottle of glue. Craft room storage ideas solve this problem by giving every tool, fabric scrap, and embellishment a dedicated home, so you spend less time digging through bins and more time actually creating. Whether you’re working with a small closet nook or a dedicated spare room, the right storage system keeps supplies visible, protected, and easy to grab mid-project. This article walks through 18 creative and practical storage solutions, from budget-friendly bins to custom built-ins, along with planning tips, cost breakdowns, a materials comparison, and answers to the most common questions crafters ask before organizing their space.
Is Craft Room Storage Right for You?
Before diving into specific ideas, it helps to weigh whether investing in dedicated craft room storage makes sense for your space, budget, and crafting habits.
Pros
• Saves time by keeping supplies visible and within reach instead of buried in random boxes
• Protects delicate materials like paper, fabric, and paint from dust, sunlight, and damage
• Makes it easier to see what you already own, which cuts down on duplicate purchases
• Can be scaled to fit almost any space, from a single closet to a full room
• Adds long-term value to a home when done with built-ins or quality furniture pieces
Cons
• Custom shelving and built-ins can require a real budget and sometimes professional installation
• Open storage systems need regular tidying to avoid looking cluttered again
• Some solutions require a dedicated room or wall, which not every home has available
• Specialty organizers for niche supplies (washi tape, ribbon, vinyl) add up in cost if bought individually
If you craft regularly, own a growing supply collection, or simply want a calmer, more functional space to work in, dedicated storage is almost always worth the investment. Even a modest budget can make a noticeable difference when the system is planned around how you actually use your supplies.
1. Pegboard Wall Organization System
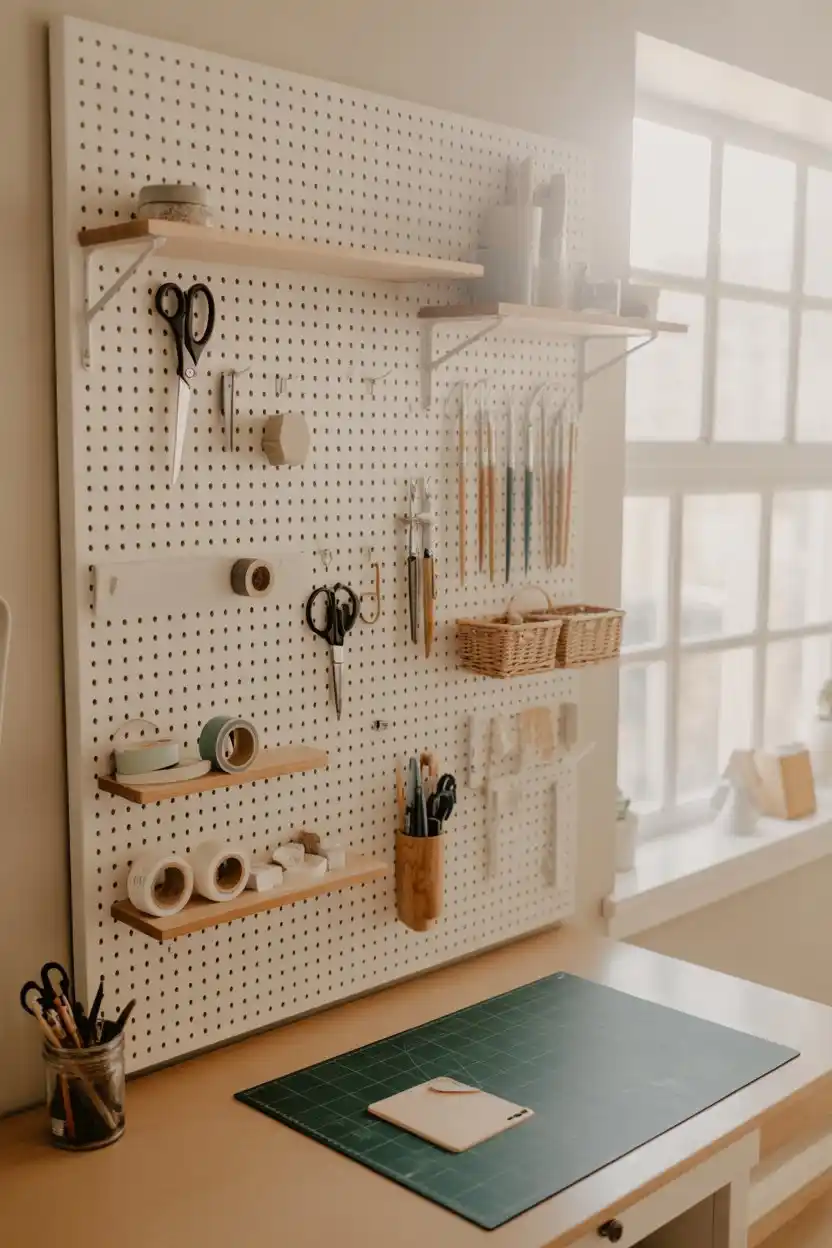
A pegboard turns an empty wall into fully customizable storage that adapts as your supply collection changes. Hooks, small shelves, and bins can be rearranged in minutes, making it ideal for crafters who switch between projects like sewing, painting, and paper crafts.
This setup works best for anyone with limited floor space who still wants everything visible and within arm’s reach. It’s an especially good fit for renters or budget-conscious crafters, since most pegboards install with just a few screws and can be removed without major wall damage.
2. Clear Acrylic Bin Stacks for Visible Sorting
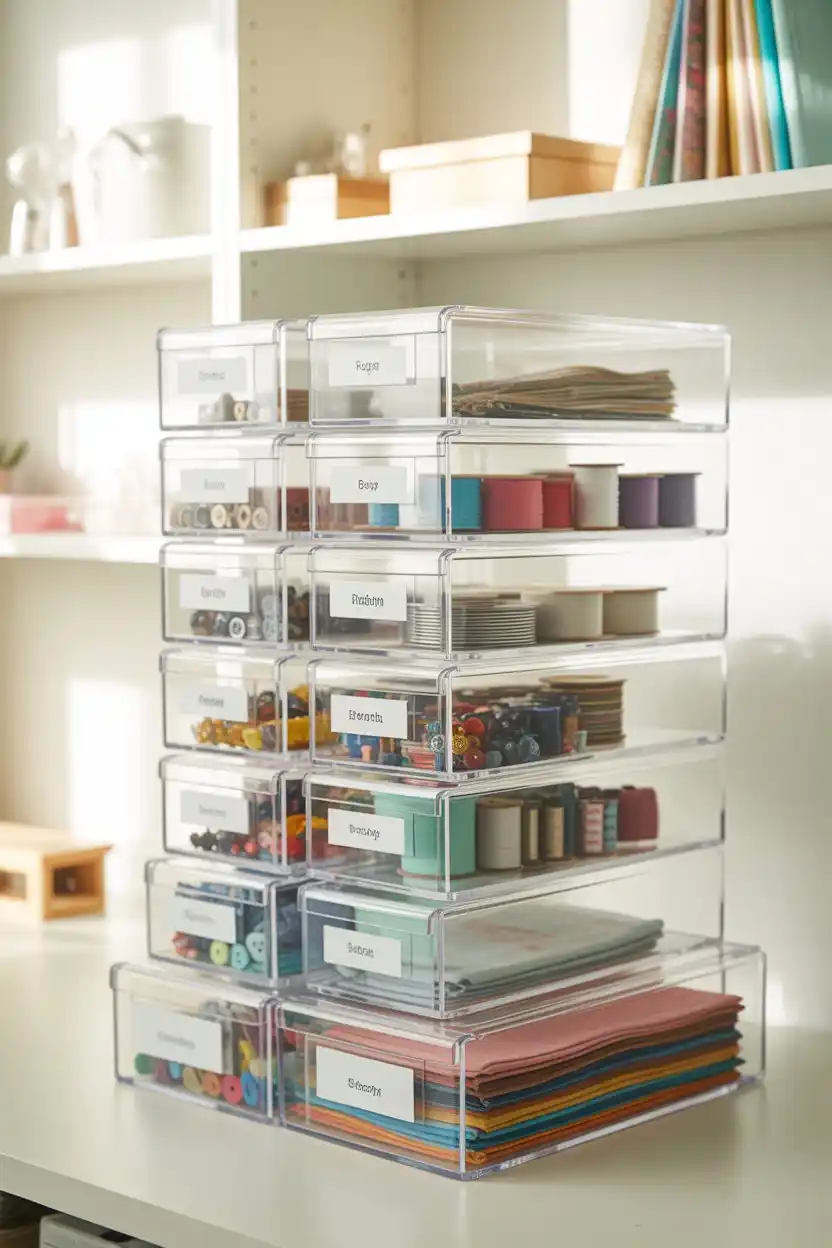
Clear acrylic bins let you see exactly what’s inside without opening a single container, which speeds up project prep dramatically. Stacking them on open shelves keeps small, easily lost items like beads, buttons, and clips corralled and tidy.
This idea suits crafters who work with lots of tiny components, such as jewelry makers, scrapbookers, or sewists. It’s also a great starter system for smaller craft corners, since bins can be added one at a time as your collection grows.
3. Rolling Craft Cart for Mobile Storage
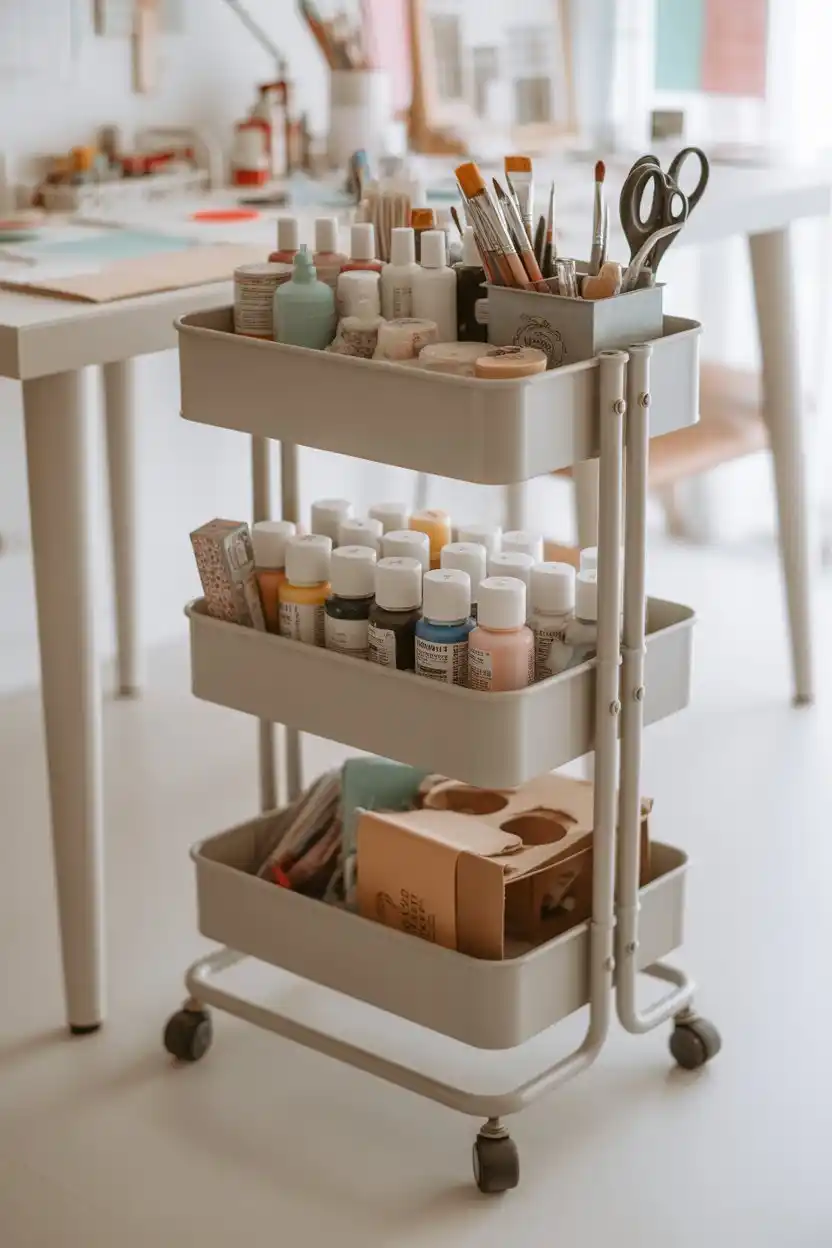
A rolling cart brings supplies directly to wherever you’re working, which is perfect for multi-purpose rooms where the craft space doubles as an office or dining area. It tucks away easily when not in use and rolls out in seconds.
This option is best suited to crafters without a dedicated room or anyone who likes to move projects between the kitchen table, living room, or patio. It’s also a smart choice for smaller apartments where flexible, movable storage matters more than built-in permanence.
4. Built-In Wall-to-Wall Shelving
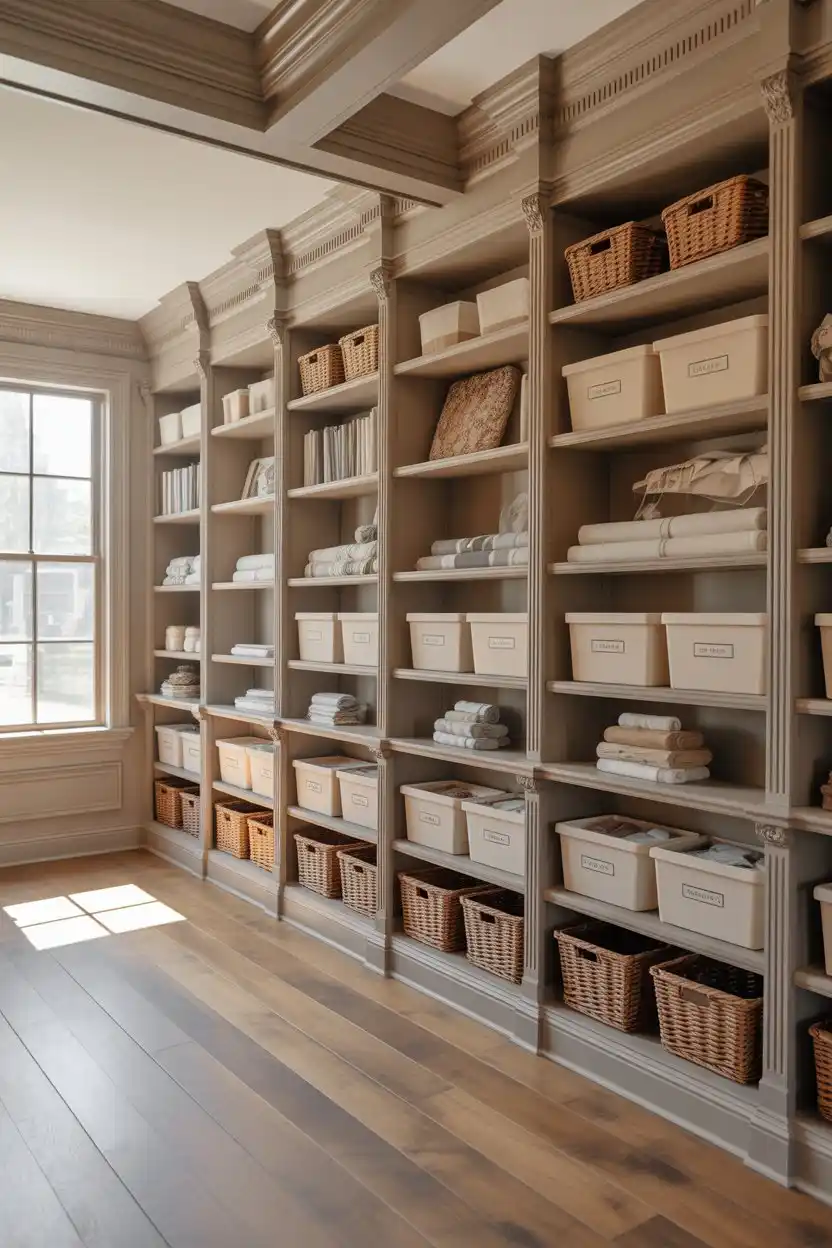
Built-in shelving is the ultimate long-term storage solution, offering a custom fit for the exact dimensions of your room and maximizing every inch of wall space. It can be designed with a mix of open shelves, closed cabinets, and drawers to suit different supply types.
This is best suited to homeowners with a dedicated craft room who plan to stay in the home for years, since built-ins typically require professional installation and a larger upfront investment. The payoff is a polished, magazine-worthy space that also adds resale value.
5. Repurposed Dresser for Craft Supplies
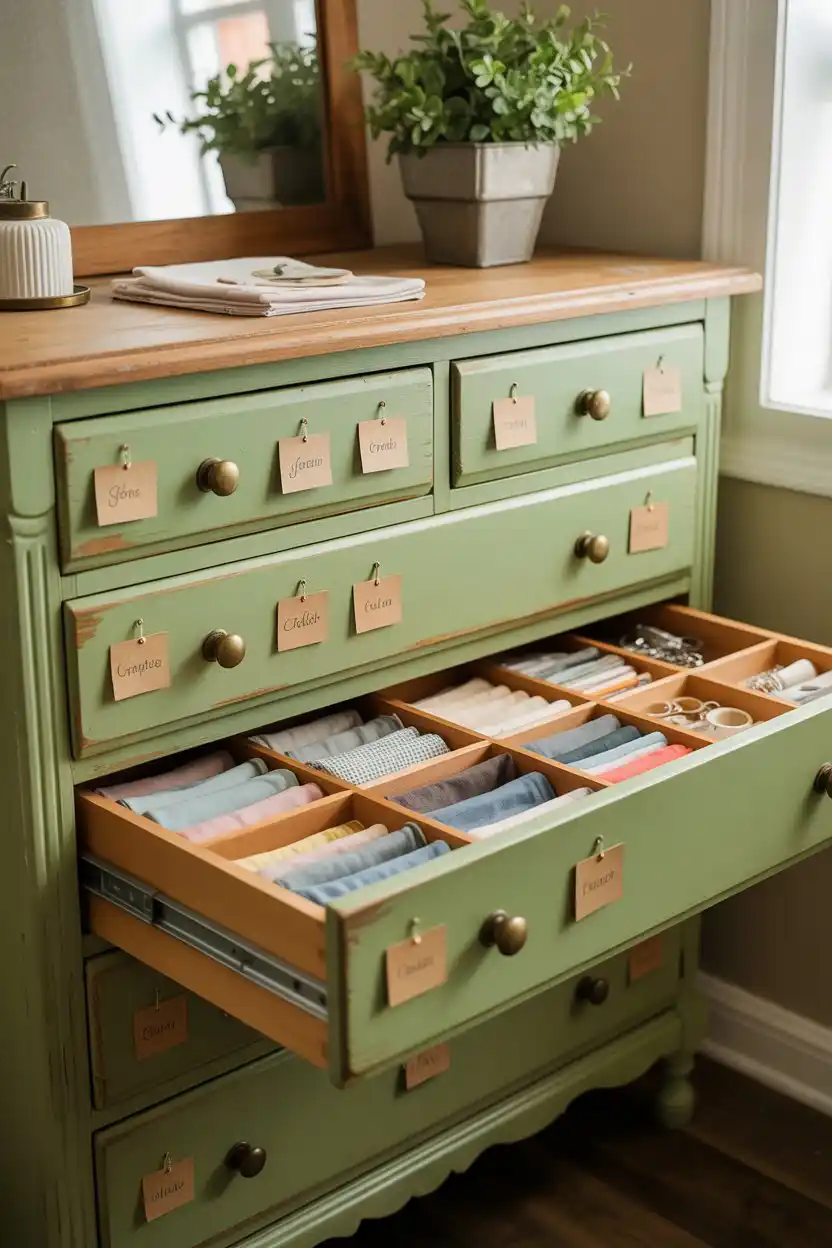
An old dresser gives closed, dust-free storage for supplies you don’t need to see every day, like fabric, yarn, or seasonal craft materials. Deep drawers are ideal for larger or bulkier items that don’t fit neatly on open shelves.
This idea is perfect for budget-minded crafters or anyone who already owns a piece of furniture that just needs a second life. A quick coat of paint and new labels can transform a thrifted dresser into a functional, charming storage piece.
6. Label-Everything Bin System
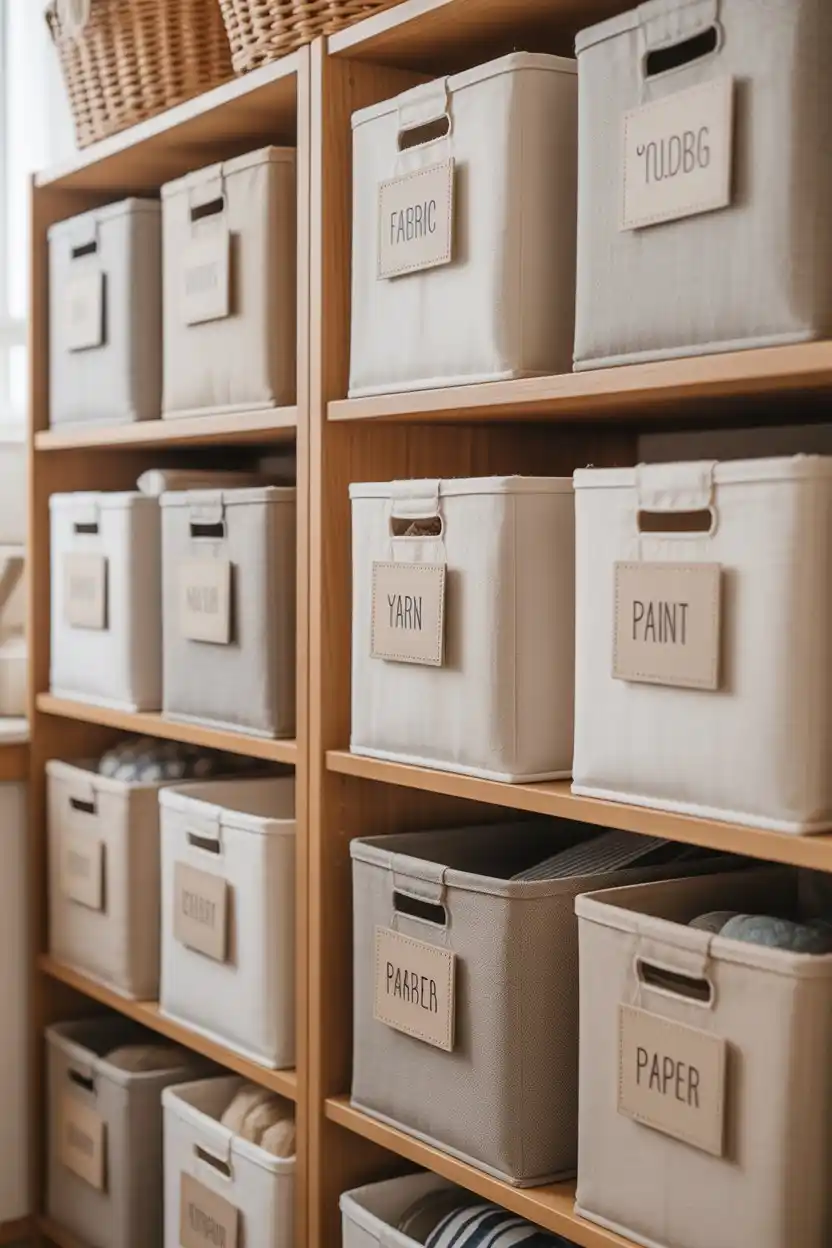
A consistent labeling system is less about the bins themselves and more about creating a logical, repeatable structure for finding and returning supplies. Categorizing by project type, material, or color keeps the whole room easy to maintain long-term.
This approach works for nearly any budget and space size, making it a great foundation to layer onto other storage ideas on this list. It’s especially helpful for households where more than one person uses the craft space, since labels remove the guesswork.
7. Vertical Ribbon and Wire Rack Organizer
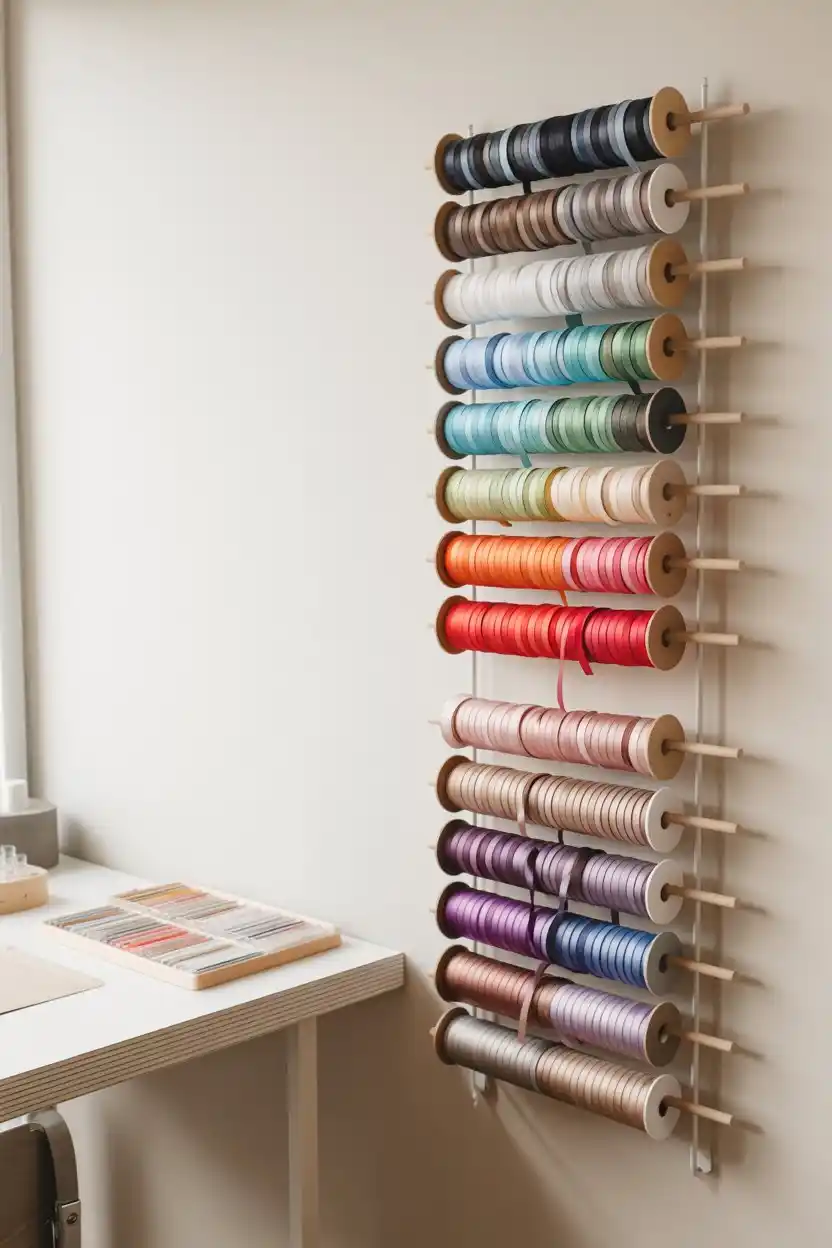
A dedicated ribbon rack keeps spools untangled, visible, and easy to unroll without removing them from storage. Mounting it vertically saves valuable counter and shelf space that would otherwise be taken up by loose ribbon bins.
This idea is ideal for gift wrappers, scrapbookers, and anyone who works frequently with ribbon or trim. It also doubles as a decorative, colorful focal point that adds personality to an otherwise utilitarian storage wall.
8. Fabric Storage with Bolt Shelving
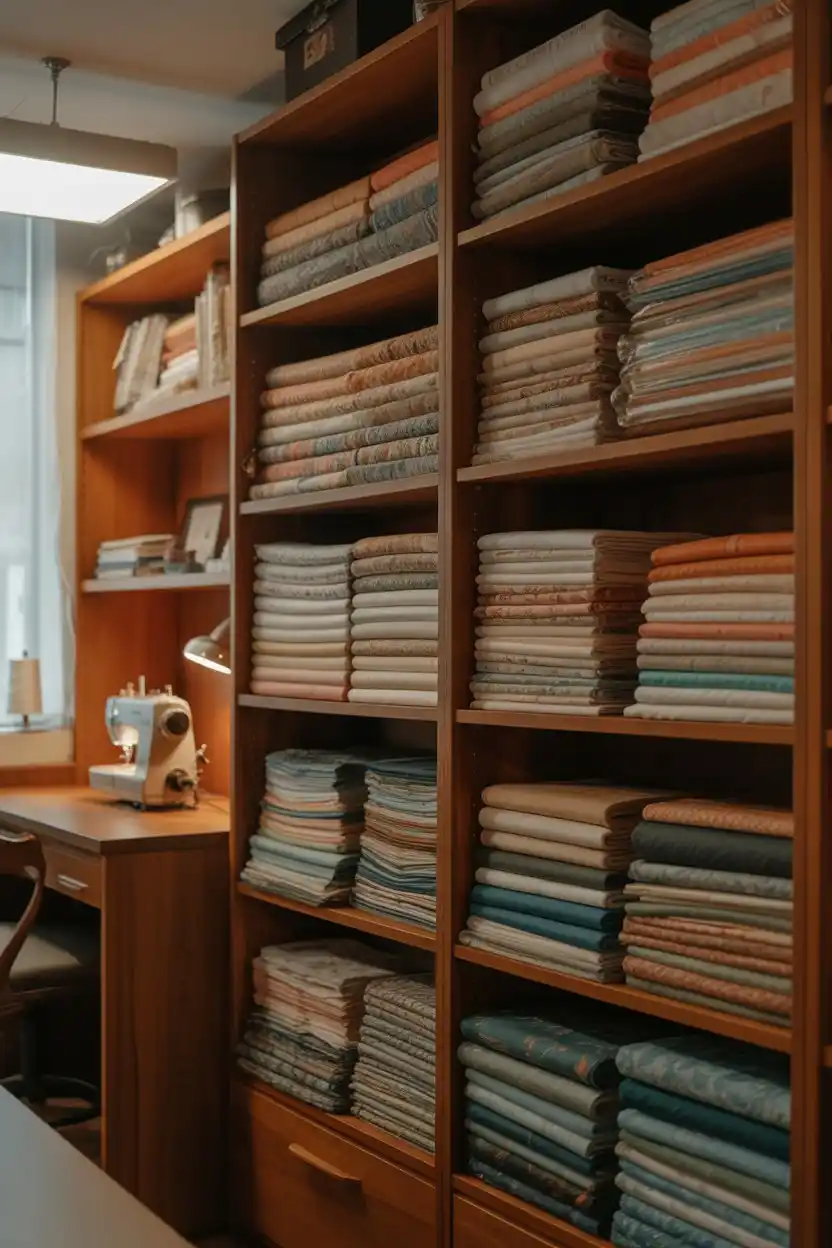
Deep, sturdy shelving built specifically for fabric bolts and folded yardage prevents wrinkling and keeps larger pieces from getting crushed under other supplies. Color-coordinated folding also makes it easy to spot the right fabric at a glance.
This setup is best for quilters, sewists, and fiber artists with a substantial fabric stash. It requires more dedicated space than smaller bin systems, so it suits a fuller craft room or converted spare bedroom rather than a small closet nook.
9. Wall-Mounted Jar Storage for Small Items
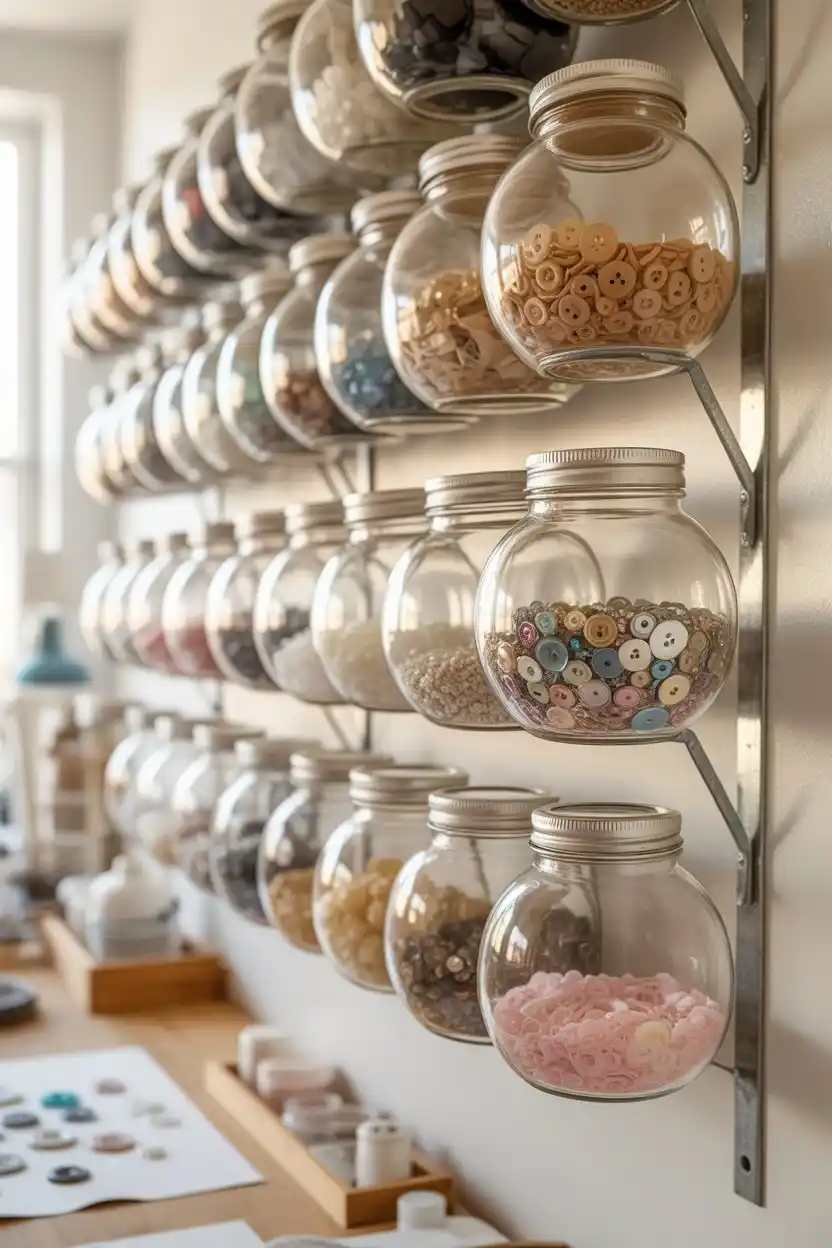
Mason jar wall systems keep tiny embellishments contained, visible, and instantly accessible without digging through a drawer. The mounting brackets let jars twist in and out for quick refills, so nothing gets buried at the bottom of a bin.
This idea is especially handy for jewelry makers, mixed-media artists, and anyone who collects small decorative pieces like beads or charms. It also adds a charming, farmhouse-style visual element to an otherwise plain wall.
10. Under-the-Table Rolling Drawer Units
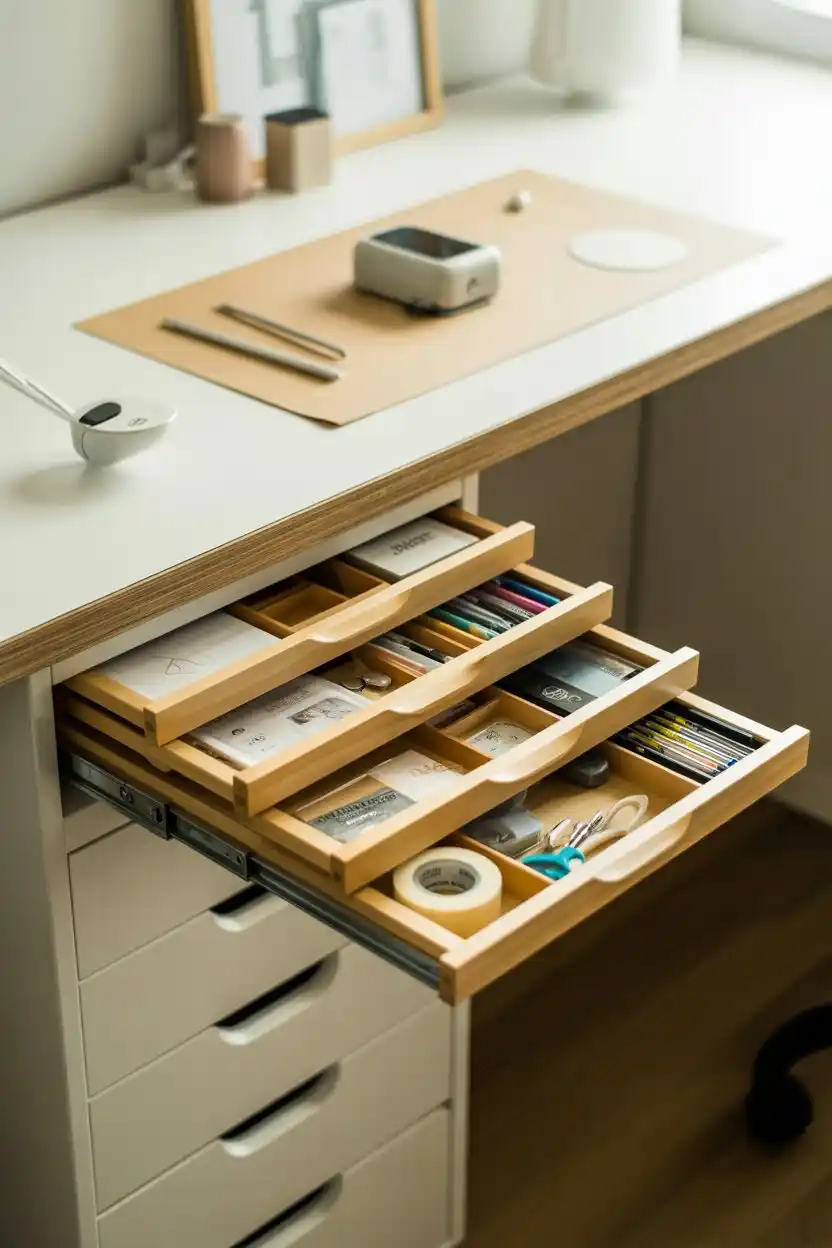
Rolling drawer units make use of otherwise wasted space beneath a work table, keeping frequently used tools within reach without cluttering the tabletop itself. They slide out fully for easy access and tuck away completely when not needed.
This solution is ideal for smaller craft rooms or shared spaces where floor space is limited. It’s a smart pick for anyone who wants a clean, minimal look on top of the desk while still keeping supplies close at hand.
11. Wrapping Paper and Vinyl Roll Storage Rack
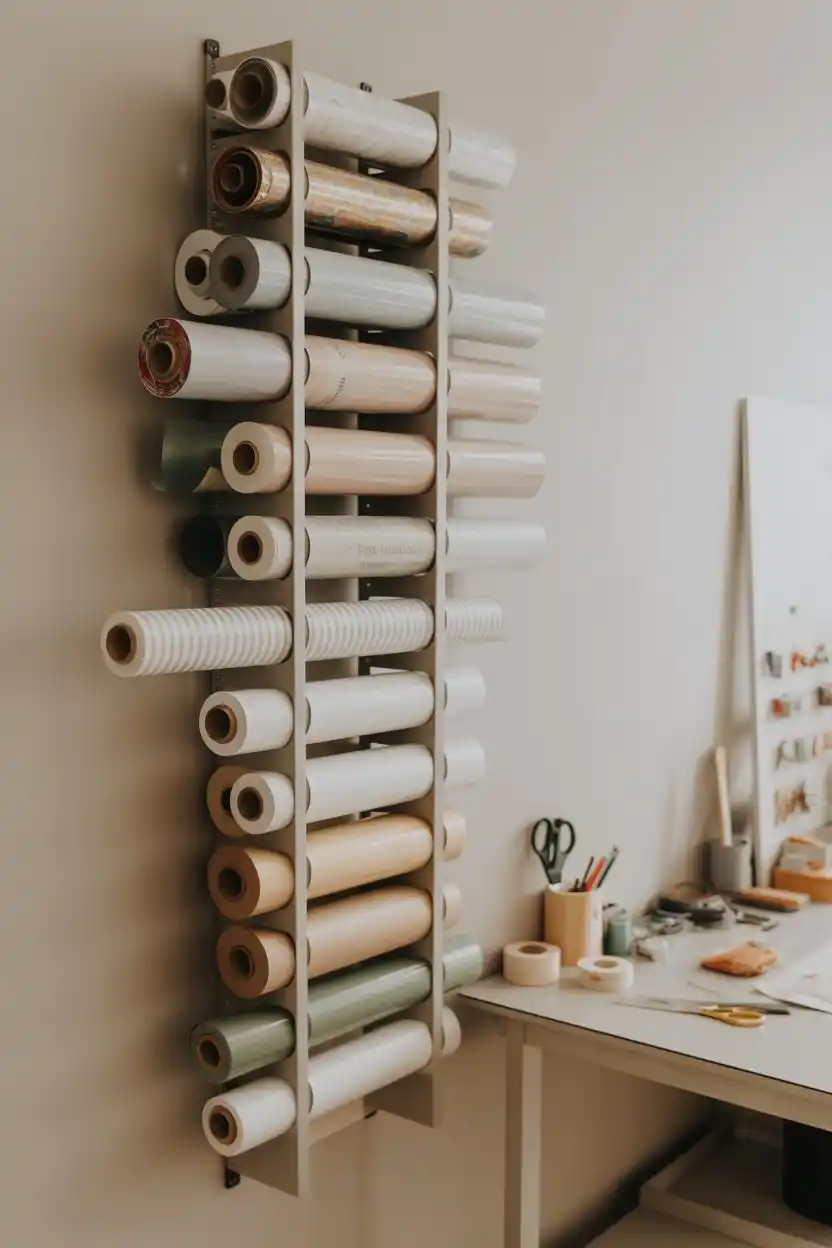
A dedicated roll storage rack keeps long paper and vinyl rolls from crushing, bending, or rolling around loose on the floor. Vertical slots make it simple to see and grab the exact roll needed without unrolling several to check patterns.
This idea is perfect for gift wrappers, Cricut and vinyl crafters, and anyone who accumulates rolls of paper-based material. It’s a compact solution that fits well into a narrow closet or the side of a larger shelving unit.
12. Modular Cube Storage Wall
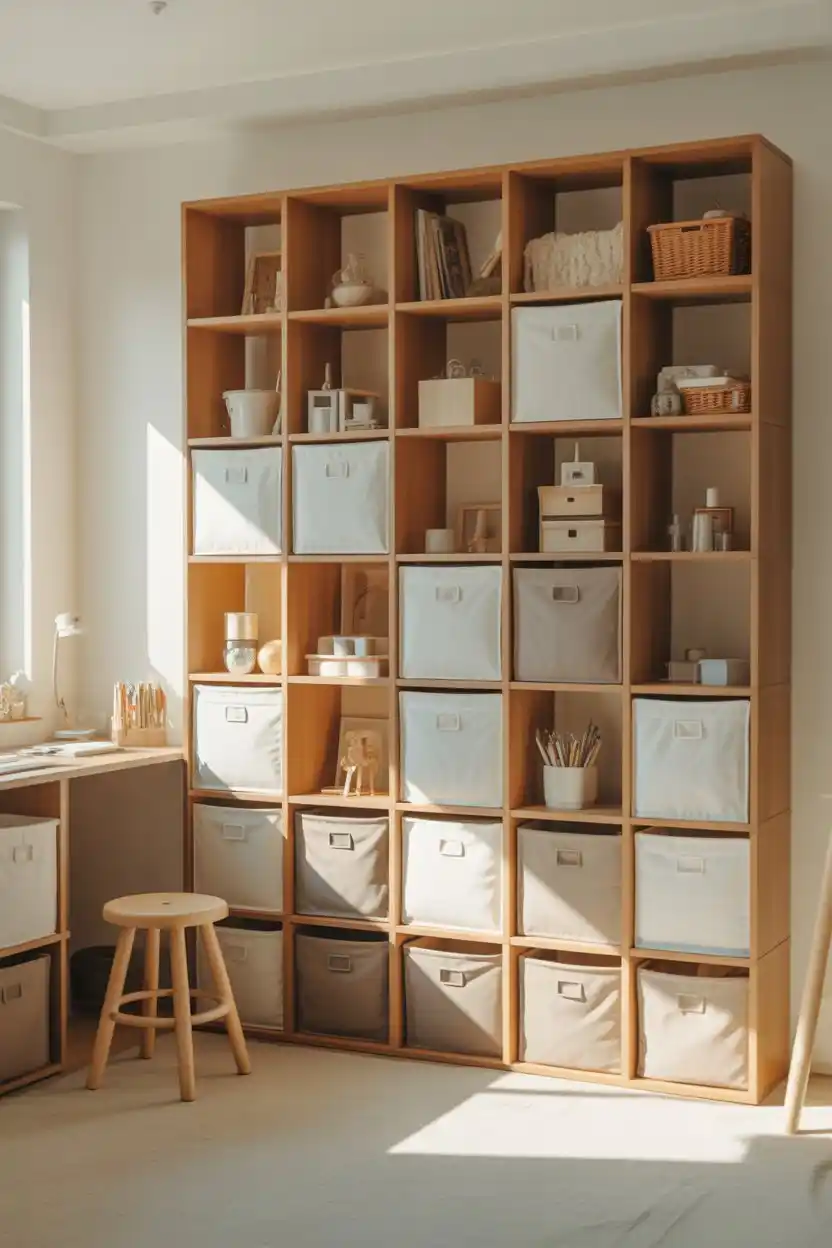
Modular cube storage offers an affordable, flexible grid system that can expand as your supply collection grows. Mixing open cubes with fabric bins lets you choose which items stay visible and which stay hidden from view.
This is a strong option for renters, beginners, or anyone furnishing a craft room on a tighter budget, since cube units are widely available and easy to assemble or reconfigure. It also works well in oddly shaped rooms since cubes can be arranged in different configurations.
13. Craft Closet Conversion with Fold-Down Table
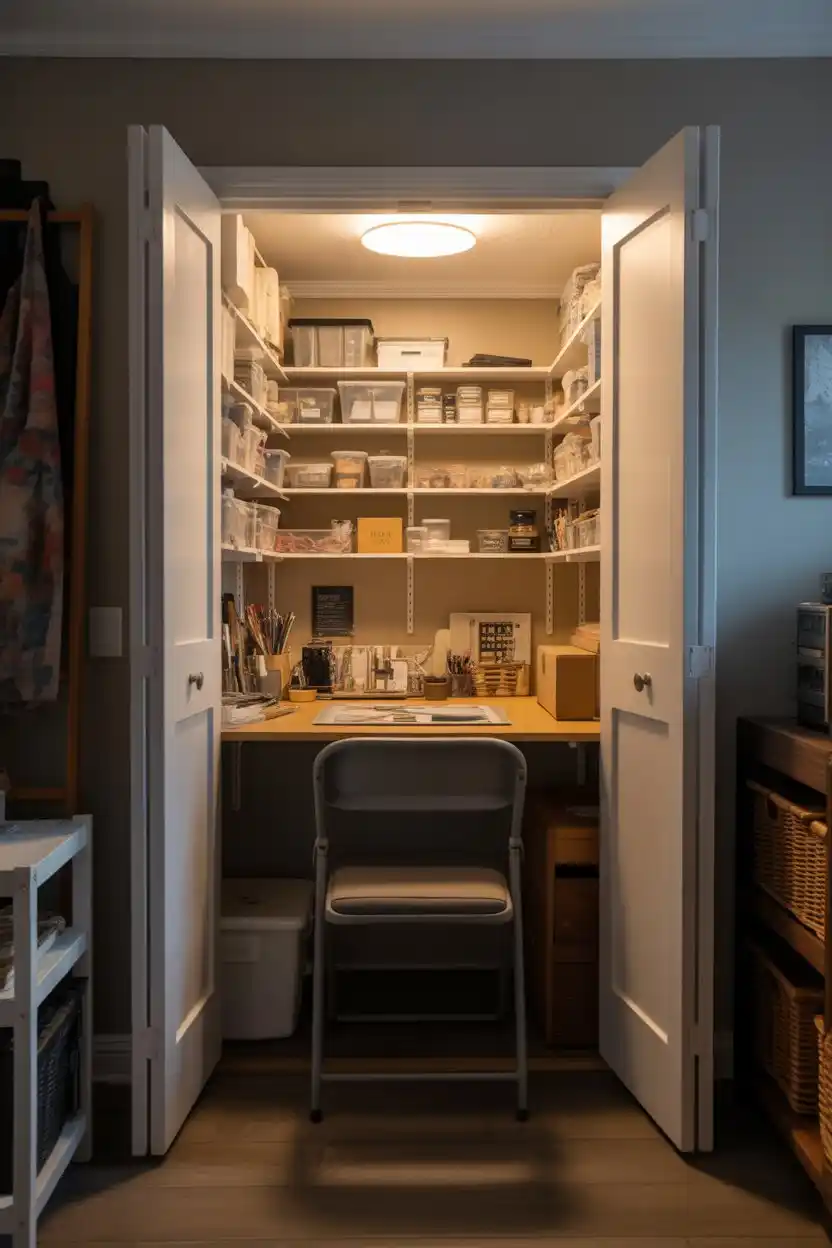
Converting an underused closet into a compact craft station is one of the most space-efficient ideas on this list, combining storage and a workspace in a single footprint. A fold-down table keeps the area functional without permanently taking up room space.
This setup is ideal for smaller homes or apartments without a spare room to dedicate to crafting. It’s also a great option for anyone who wants their supplies fully hidden behind closed doors when guests are over.
14. Magnetic Board for Metal Tools and Scissors
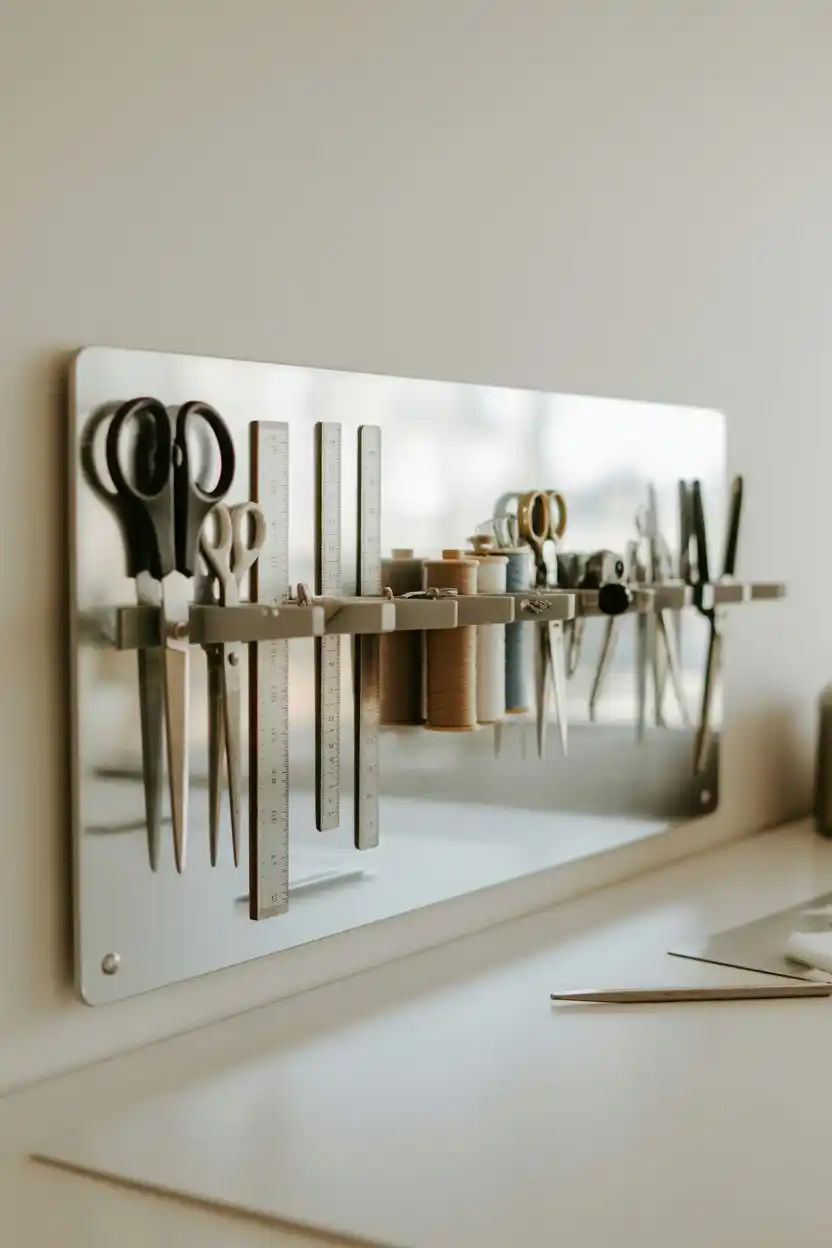
A magnetic board keeps metal tools like scissors, rulers, and pins visible and instantly accessible, eliminating the need to rummage through a drawer for a specific pair of scissors. It also doubles as a safe way to store sharp tools out of the reach of small hands when mounted higher on the wall.
This idea suits sewists, paper crafters, and anyone with a collection of small metal tools. It’s a low-cost, high-impact addition that pairs well with a pegboard or open shelving system nearby.
15. Washi Tape and Ribbon Dowel Display
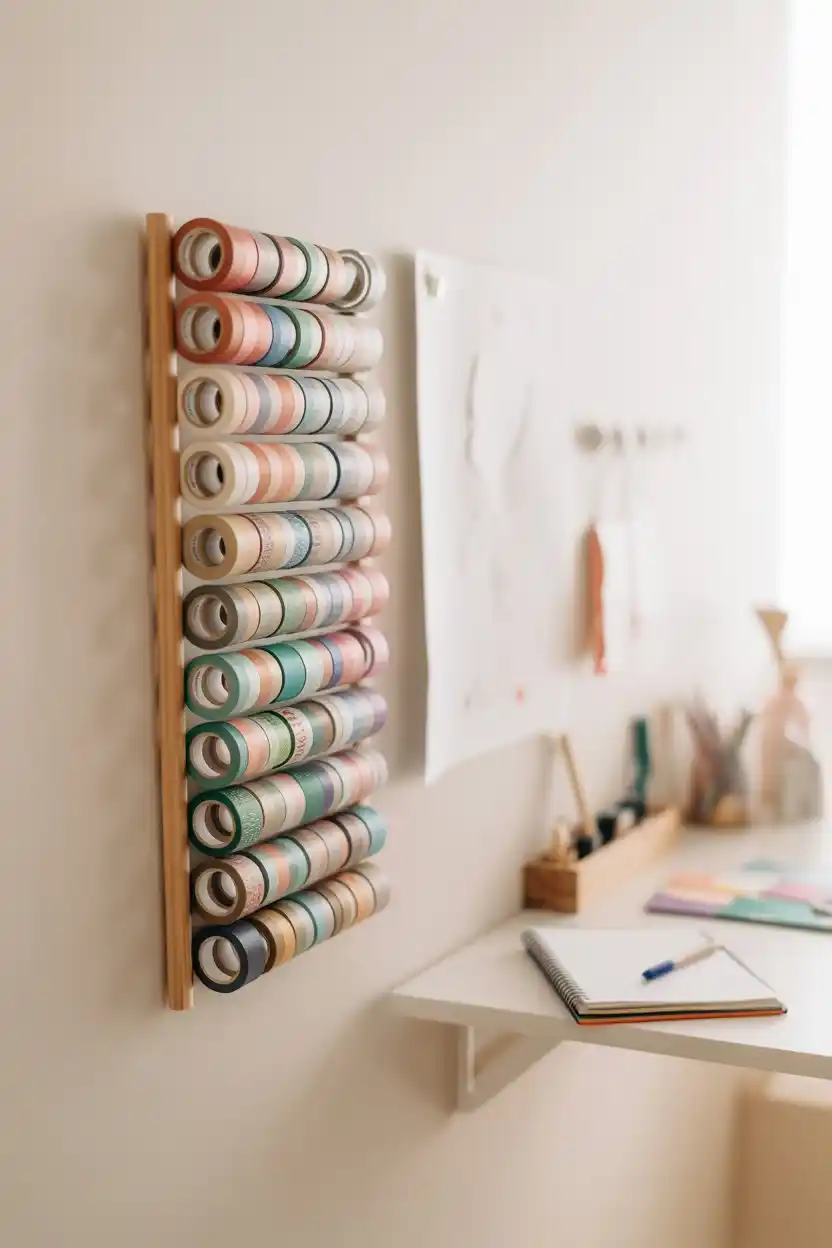
A dowel display turns a washi tape collection into both storage and decor, keeping rolls sorted and visible without a dedicated drawer or bin. It’s an inexpensive DIY project that takes only a few materials to set up.
This idea is best suited to scrapbookers, journal crafters, and anyone with a growing tape or ribbon collection. It works especially well in smaller craft nooks where wall space is more available than shelf or drawer space.
16. Multi-Tiered Rolling Cart for Paint and Markers
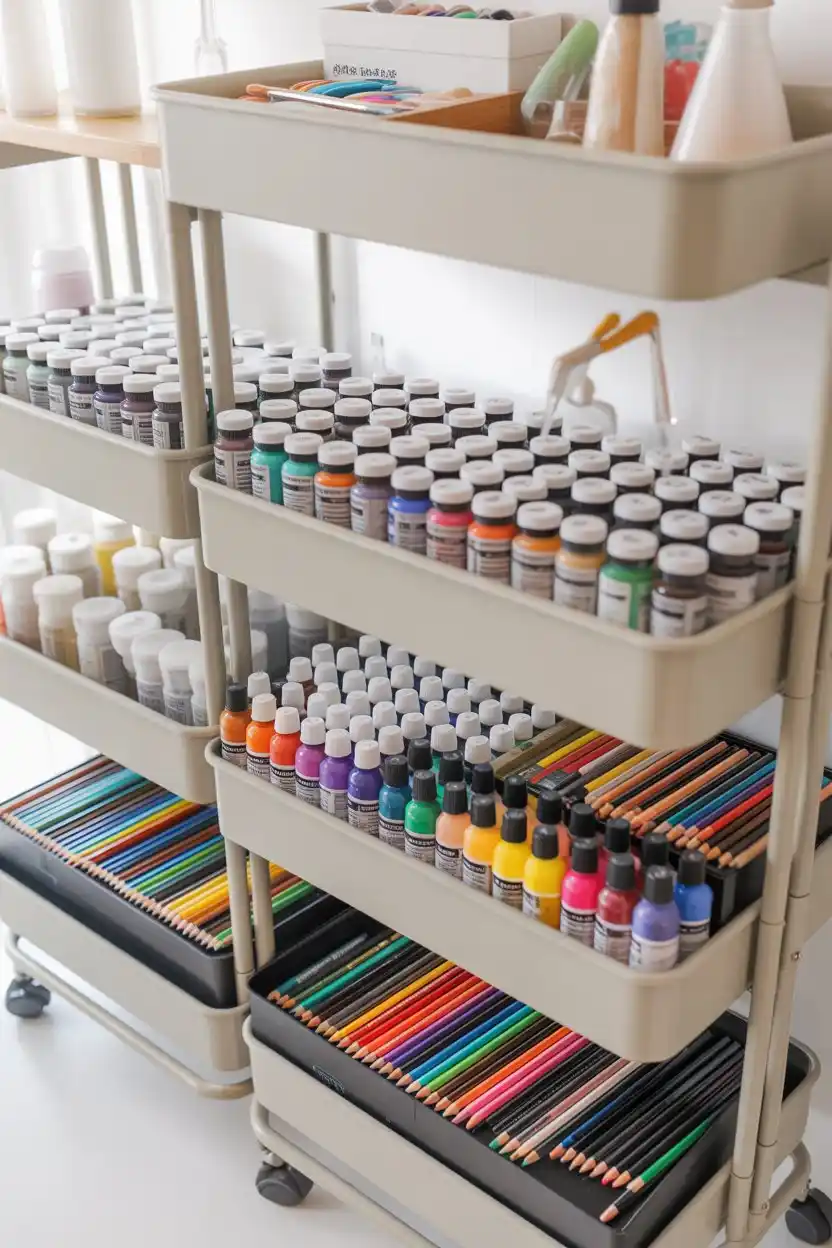
A tiered rolling cart dedicated to paint and markers keeps color supplies sorted by hue or type, making it easy to grab the exact shade needed for a project. The wheels allow the entire collection to move wherever the work happens to be that day.
This idea is ideal for painters, illustrators, and mixed-media artists with an extensive color palette. It’s also a great way to keep messy paint supplies contained and easy to wipe down after use.
17. Corner Shelving for Awkward Spaces
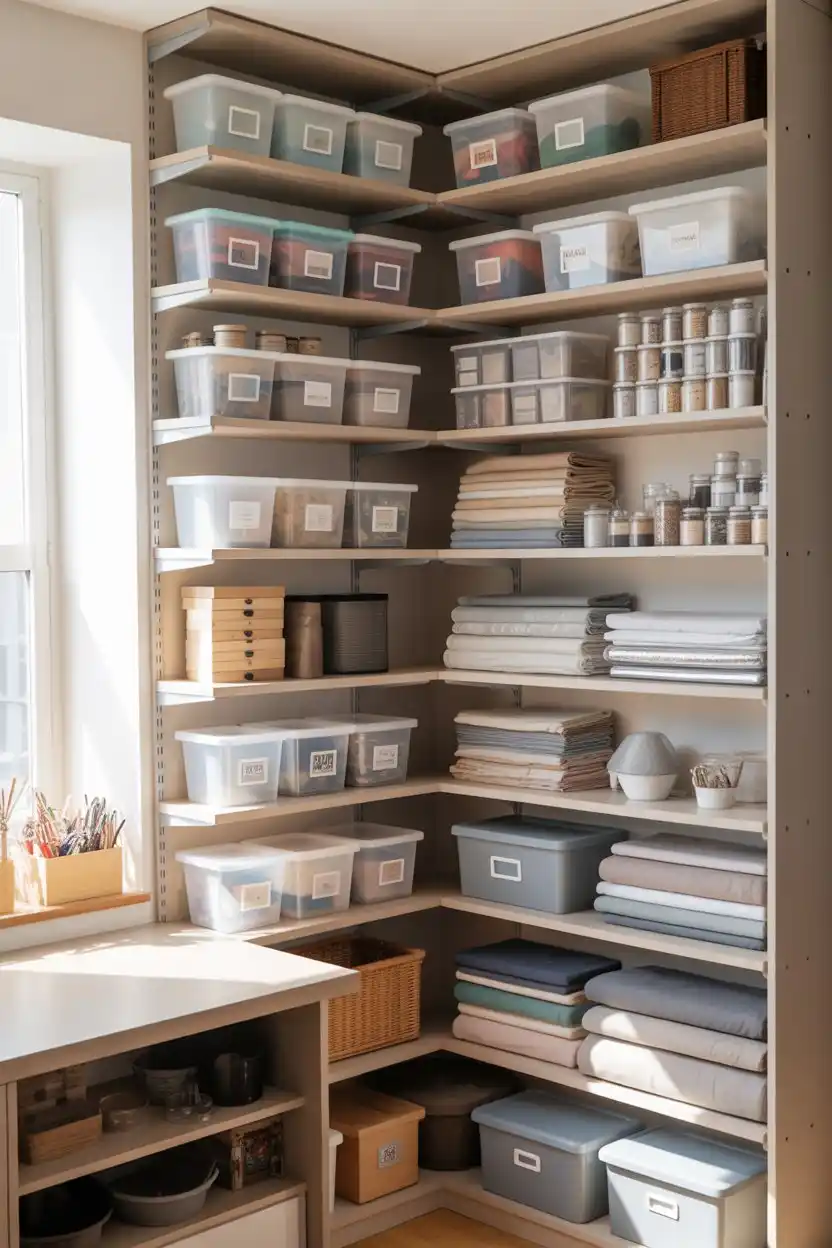
Corner shelving makes use of a space that’s often left empty in room layouts, adding valuable storage without disrupting the flow of the room. It’s especially useful in smaller craft areas where every inch counts.
This idea works well for anyone maximizing a compact space, whether it’s a full craft room or a repurposed corner of a bedroom or office. It pairs nicely with bins or baskets to keep the angled shelves from looking cluttered.
18. Ladder Shelf for Yarn and Baskets
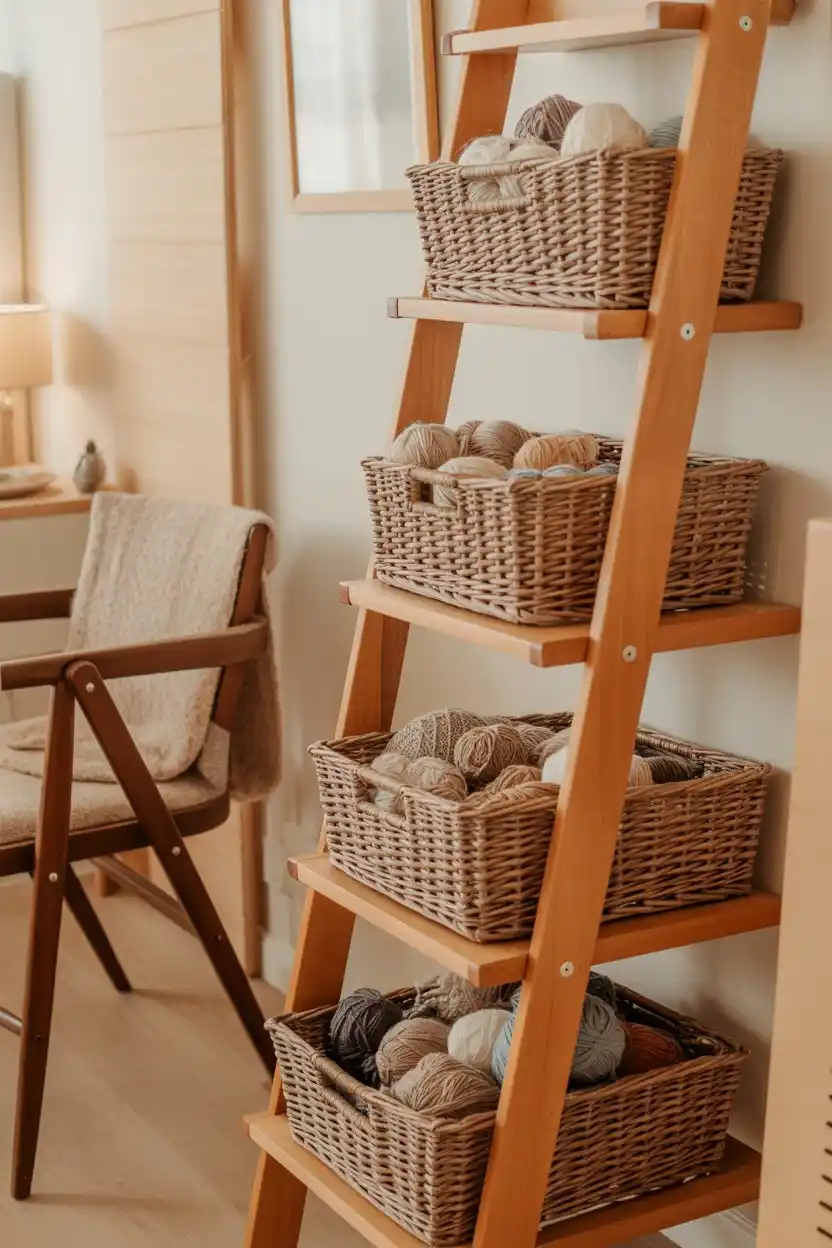
A ladder shelf offers a decorative, space-saving way to store yarn, fabric, or other soft goods in baskets that lean against the wall rather than requiring a full shelving unit. It adds visual warmth while still being highly functional.
This idea is best suited to knitters, crocheters, and fiber artists who want their yarn collection to double as a design feature in the room. It works especially well in smaller spaces since it takes up minimal floor space.
Planning and Buying Tips
Before purchasing shelving, bins, or furniture for your craft room, think through these practical factors to avoid costly mistakes.
• Measure your space first: Take exact wall, floor, and ceiling height measurements before shopping. Built-ins, ladder shelves, and tall units all need accurate clearance to fit properly and look intentional rather than crammed in.
• Consider weight capacity: Fabric bolts, jars, and paint bottles are heavier than they look. Choose shelving rated for adequate weight, especially for wall-mounted units, and always anchor into studs where possible.
• Plan for growth: Craft supply collections tend to expand over time. Modular systems like cube storage or additional pegboard sections make it easier to scale up without a full redesign.
• Think about sightlines: If your craft space is visible from other rooms, mix open shelving with closed bins or cabinets to keep the look tidy rather than overwhelming.
• Check lighting: Good task lighting matters as much as storage. Make sure shelving placement doesn’t block windows or overhead light sources you rely on while working.
• Standard sizing to shop for: Most cube storage units run 12 to 15 inches per cube, pegboards commonly come in 2×4-foot or 4×4-foot panels, and standard shelving depth for craft bins ranges from 12 to 16 inches to comfortably fit most bin sizes.
Cost Breakdown
Craft room storage costs vary widely depending on materials, size, and whether you DIY or hire installation. Here’s a general guide.
• Budget ($50–$300): Cube storage units, wire racks, pegboards, and basic plastic or fabric bins fall into this range. Most items are DIY-assembled with no installation cost, though wall-mounted pieces may need basic hardware.
• Mid-Range ($300–$1,200): This tier includes higher-quality freestanding shelving, a rolling cart system, a repurposed and refinished dresser, or a small closet conversion with a fold-down table. Some assembly or light installation may be needed, typically DIY-friendly.
• Luxury/Premium ($1,200–$6,000+): Custom built-in shelving, full closet system conversions, and professionally designed craft rooms fall here. Costs include materials, custom fitting, and professional installation, which can run $50 to $150 per hour depending on your region and the complexity of the build.
Materials and Storage Options Comparison
A quick side-by-side look at common craft room storage materials and options.
| Storage Option | Approx. Price | Durability | Best For |
| Wire/metal rack | $15 – $60 | High | Ribbon, tape, small tools |
| Solid wood shelving | $150 – $600 per unit | Very High | Fabric, yarn, long-term use |
| Laminate/particle board cube storage | $40 – $150 per unit | Medium | Budget setups, renters |
| Acrylic bins | $10 – $40 each | High | Small parts, visible sorting |
| Repurposed furniture (dresser) | $0 – $150 (thrifted/refinished) | Medium-High | Closed storage, budget upcycling |
| Custom built-in cabinetry | $1,200 – $6,000+ | Very High | Dedicated rooms, long-term homeowners |
| Metal pegboard | $25 – $90 | High | Tools, scissors, small hooks |
| Rolling metal/wire cart | $40 – $150 | Medium-High | Mobile storage, small spaces |
| Fabric storage bins | $8 – $25 each | Medium | Soft goods, closed storage |
| Glass jars with wall brackets | $20 – $70 per set | High | Small embellishments, beads, buttons |
Maintenance Tips
A well-organized craft room stays functional only with a little regular upkeep. Keep these tips in mind.
• Dust open shelving weekly, since exposed supplies like paper and fabric collect dust faster than closed storage.
• Wipe down acrylic bins and pegboards with a mild cleaner to prevent buildup from paint, glue, or marker residue.
• Do a quarterly declutter pass to remove dried-out supplies, expired adhesives, or materials you no longer use.
• Keep labels updated as categories shift, so the system stays intuitive rather than becoming a guessing game.
• Avoid overloading shelves beyond their weight rating, and periodically check wall anchors on mounted storage for stability.
• Store fabric and paper away from direct sunlight when possible to prevent fading over time.
Frequently Asked Questions
What is the cheapest way to organize a craft room?
Cube storage units, wire racks, repurposed furniture, and clear bins from a discount store are among the most affordable ways to organize a craft room, often costing under $300 total for a small to medium space.
How do I store craft supplies if I don’t have a dedicated room?
A rolling cart, a closet conversion, or a pegboard mounted in a shared space like an office or guest room can provide effective storage without requiring a fully dedicated room.
What is the best way to organize small craft supplies like beads and buttons?
Clear acrylic bins, small labeled jars, or a divided drawer organizer work best for small items, since they keep pieces visible and sorted by type or color.
Should craft room storage be open or closed?
A mix of both works best for most crafters. Open storage keeps frequently used items accessible, while closed bins or cabinets hide bulkier or less-used supplies and keep the room looking tidy.
How much does it cost to build custom craft room storage?
Custom built-in shelving or a full closet conversion typically costs between $1,200 and $6,000 or more, depending on materials, the size of the space, and whether professional installation is required.
How to Choose the Right Craft Room Storage for You
The best craft room storage setup depends on the space you have, how much you’re willing to spend, and the style you want the room to reflect. Smaller spaces benefit from vertical solutions like pegboards, ladder shelves, and rolling carts, while larger dedicated rooms can support built-ins and full shelving walls.
Budget-conscious crafters can start small with cube storage, clear bins, and a repurposed piece of furniture, then expand the system over time as their collection and needs grow. If your craft space doubles as a guest room or shared area, lean toward closed storage and closet conversions that hide supplies behind doors when not in use.
Whatever combination you choose, prioritize a system that matches how you actually work, not just how it looks in photos. A little planning now saves hours of frustration later and turns your craft space into a room you actually enjoy spending time in.
Ready to get organized? Start with one or two ideas from this list that fit your space and budget, and build from there.


- Be Respectful
- Stay Relevant
- Stay Positive
- True Feedback
- Encourage Discussion
- Avoid Spamming
- No Fake News
- Don't Copy-Paste
- No Personal Attacks
- Be Respectful
- Stay Relevant
- Stay Positive
- True Feedback
- Encourage Discussion
- Avoid Spamming
- No Fake News
- Don't Copy-Paste
- No Personal Attacks
