17 Easy DIY Wall Art Ideas That Look Store-Bought
Published: 19 Sep 2026
Store-bought wall art can be surprisingly expensive for a single canvas or framed print, especially when you need several pieces to fill a whole wall. Easy DIY wall art ideas solve that problem directly, letting you create genuinely gallery-worthy pieces for a fraction of retail cost, using materials as simple as paint, paper, or fabric scraps you may already have at home. Most of these projects also require no advanced artistic skill, relying on technique and materials to do the visual work rather than freehand drawing ability. This guide covers 17 easy DIY wall art ideas for every skill level and budget, from paint and paper techniques to textile and mixed-media projects. Along the way, you will find honest pros and cons, real price ranges, a materials and technique comparison table, care and framing advice, and answers to the questions people search most before starting a DIY wall art project. By the end, you will know exactly which project fits your skill level, your budget, and your home’s style.
Is DIY Wall Art Right for You?
DIY wall art is one of the more forgiving home projects to take on, but it is worth weighing a few practical factors before diving in.
Pros
● Significant cost savings — most DIY wall art projects cost a fraction of a comparable store-bought piece, especially for larger canvases that carry a steep retail markup.
● Fully customizable to your space — you control the exact size, color palette, and style, which is difficult to find in ready-made art that matches a specific wall or color scheme.
● Low skill barrier for many techniques — projects like paint pouring, stenciling, and pressed botanicals rely on technique and materials rather than freehand drawing or painting skill.
● Genuinely rewarding and personal — handmade art carries a personal quality that mass-produced prints cannot replicate, and finished pieces often become meaningful conversation pieces.
Cons
● Results can vary, especially on a first attempt — techniques like paint pouring and marbling involve an element of unpredictability that some people find exciting, and others find frustrating.
● Some projects require a real time investment — string art and paper quilling in particular can take several hours to complete depending on the piece’s size and detail level.
● Materials and workspace setup take some planning — paint-based projects especially require proper ventilation and a protected work surface to avoid damage to floors or furniture.
● Framing costs can offset material savings — a beautifully finished piece can lose some of its budget-friendly appeal if paired with an expensive custom frame.
For most people, DIY wall art is a worthwhile project, especially starting with a lower-stakes technique like a paint pour or pressed botanical piece before attempting a more involved project like string art or paper quilling.
1. Abstract Paint Pour Canvas
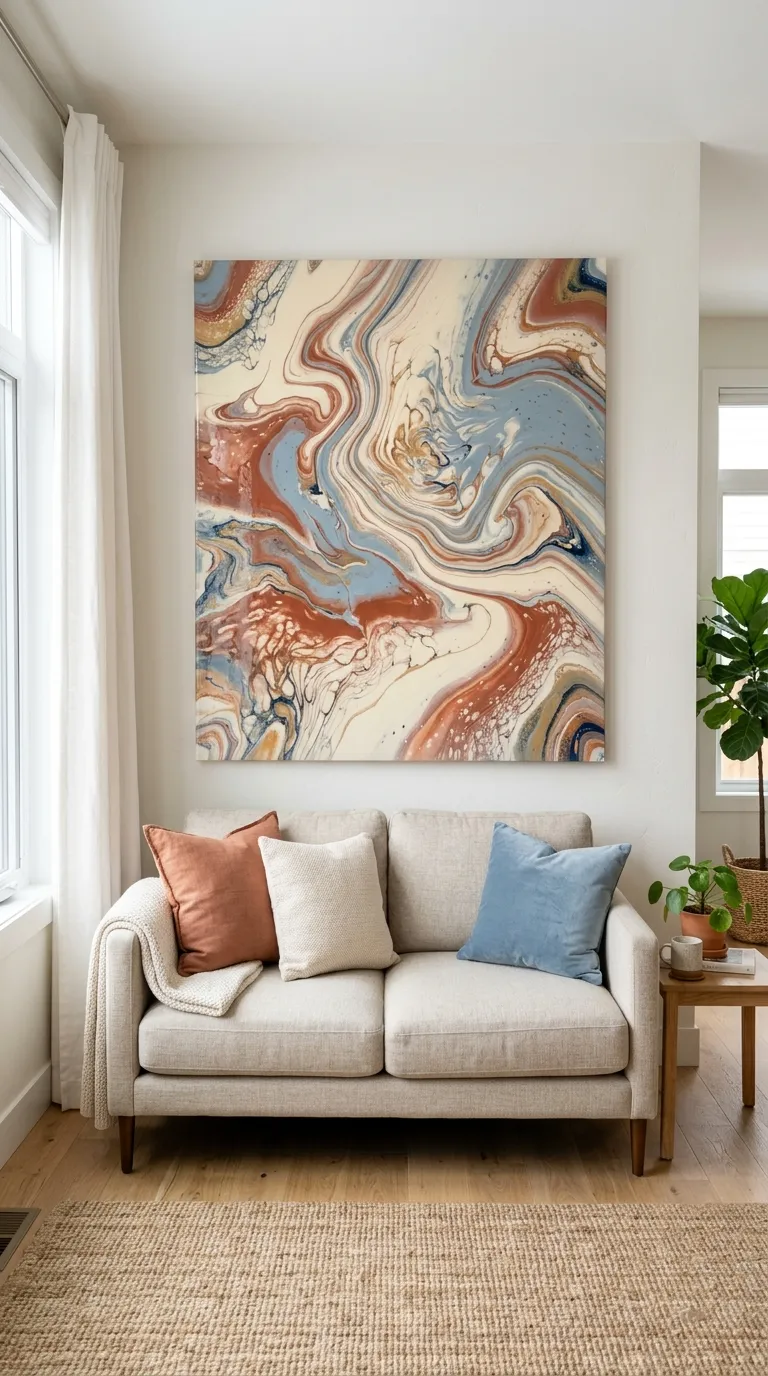
Acrylic paint pouring produces genuinely striking, fluid abstract patterns using a simple pouring and tilting technique, requiring no drawing skill at all since the paint’s natural movement creates the final composition.
Mix acrylic paint with a pouring medium at the recommended ratio before combining colors, since getting this consistency right is what determines whether the paint flows smoothly or clumps unevenly on the canvas.
Best suited for: beginners wanting a genuinely impressive result with minimal technical skill required.
2. Pressed Botanical Frame, Art
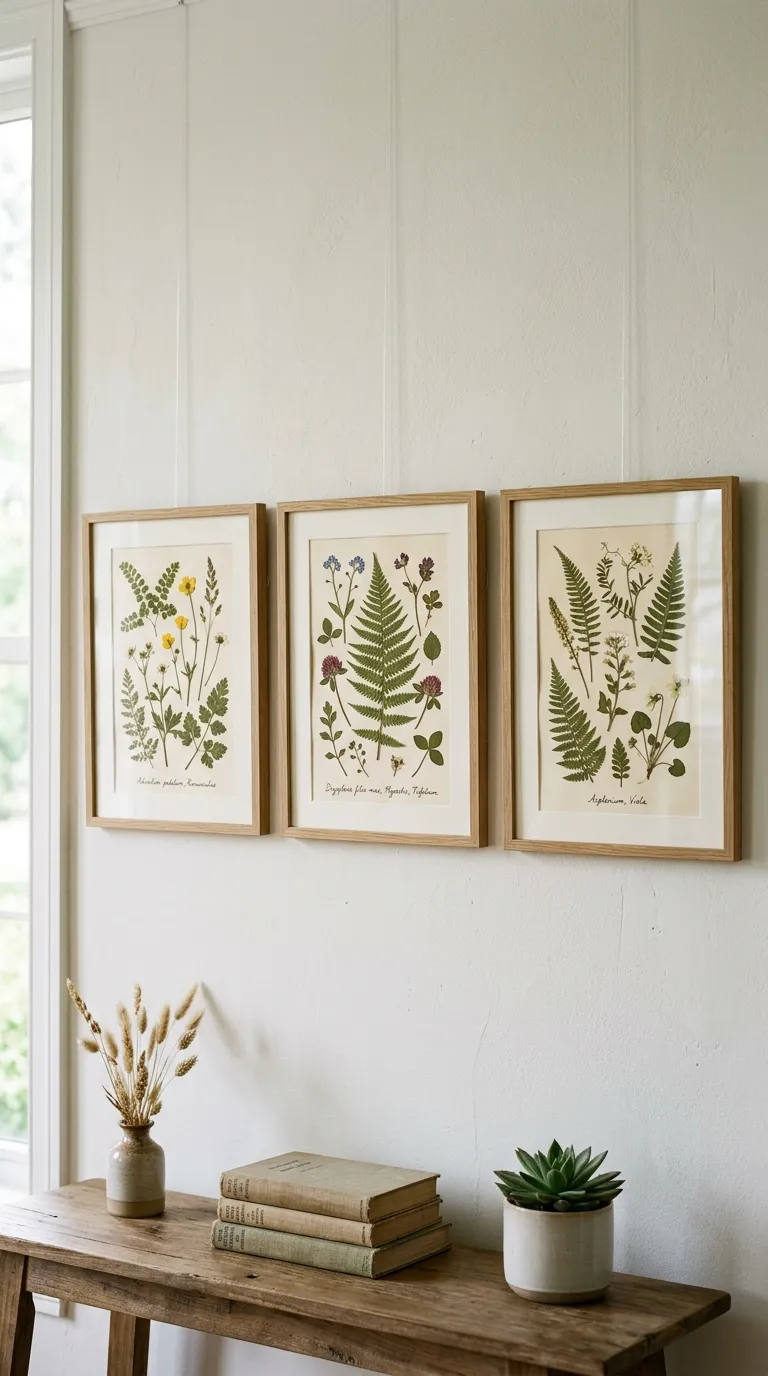
Pressed botanical art uses real flowers, leaves, or ferns dried flat and displayed under glass, creating a delicate, naturally beautiful piece that requires no painting or drawing skill whatsoever.
Press botanicals between heavy books for at least one to two weeks before framing, and choose specimens that are already relatively flat, like ferns and small flowers, since thicker plants press unevenly and can develop mold.
Best suited for: anyone with access to a garden or foraged plant material, and a project well suited to involving kids.
3. Woven Fabric Wall Hanging
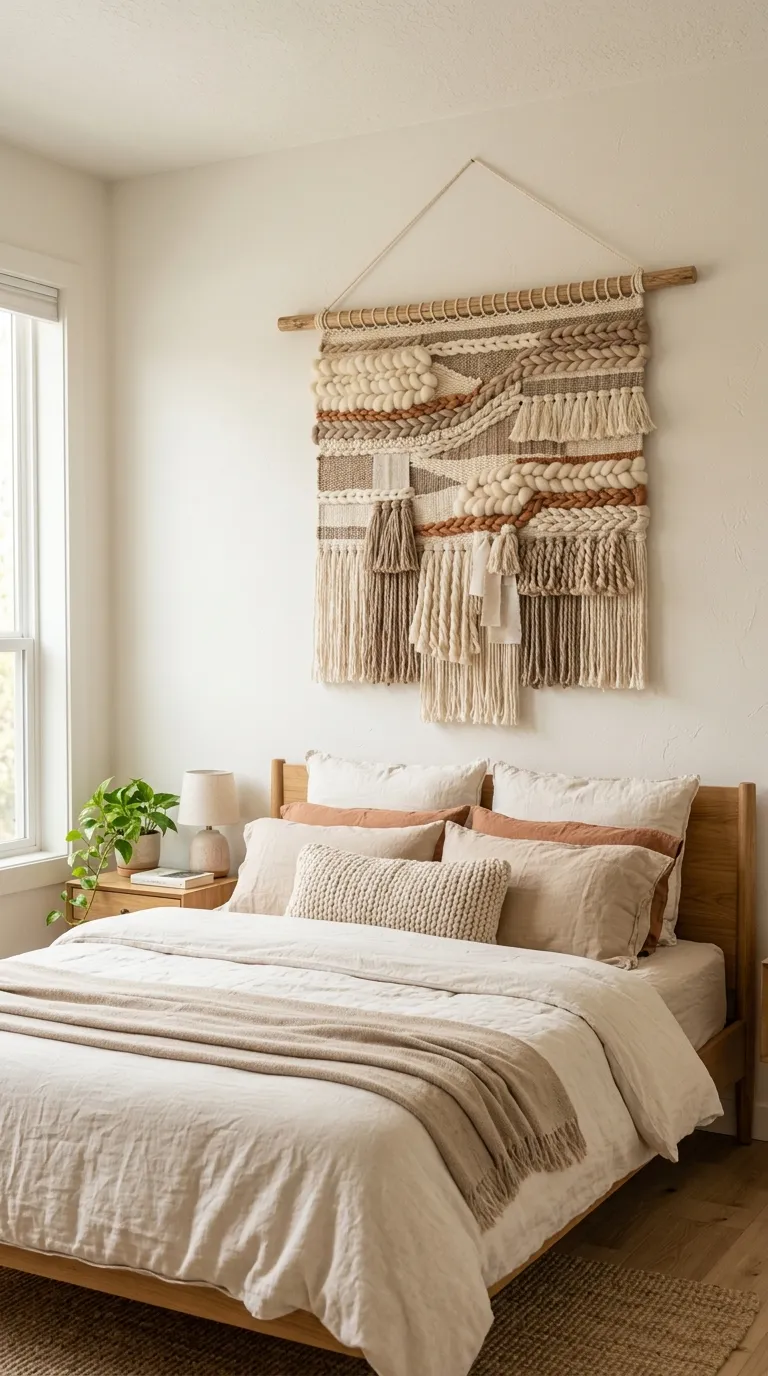
A woven wall hanging built from fabric strips, yarn, and roving wool wrapped around a simple wood dowel brings genuine texture to a wall, and the technique is forgiving enough that imperfect weaving still looks intentionally organic.
Start with a small dowel, around 12 to 18 inches wide, for a first attempt, since a smaller scale is significantly faster to complete and easier to keep the composition balanced.
Best suited for: boho and organic-modern interiors, and anyone wanting a textural piece without painting.
4. Washi Tape Geometric Pattern
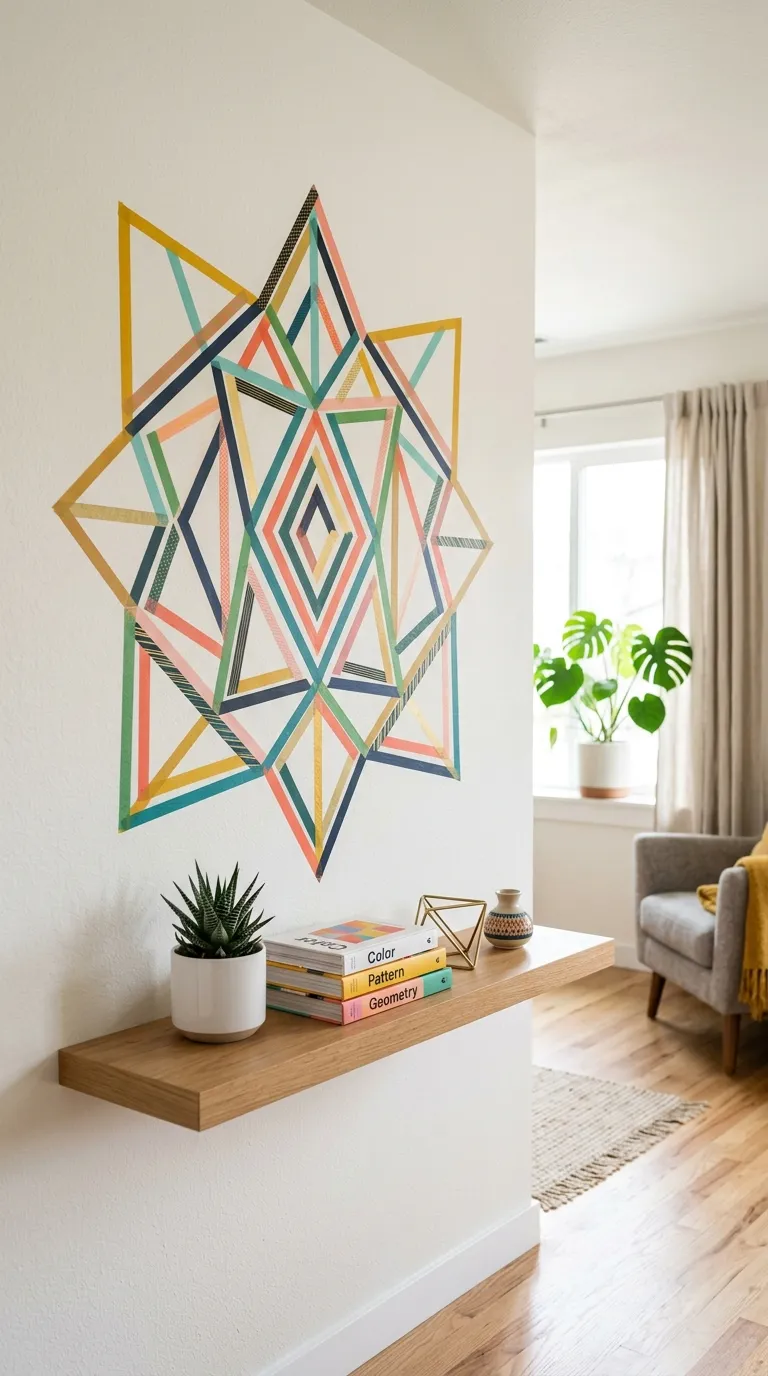
Washi tape applied directly to a wall in a geometric pattern creates a bold, graphic art moment without paint, permanent adhesive, or any drawing skill, and the tape can be repositioned easily if the first attempt does not work.
Plan the geometric pattern with light pencil marks or painter’s tape guides first, since washi tape patterns are much easier to adjust before the final tape is applied than after the design is complete.
Best suited for: renters and anyone wanting a fully removable, temporary wall art solution.
5. Stenciled Wall Art
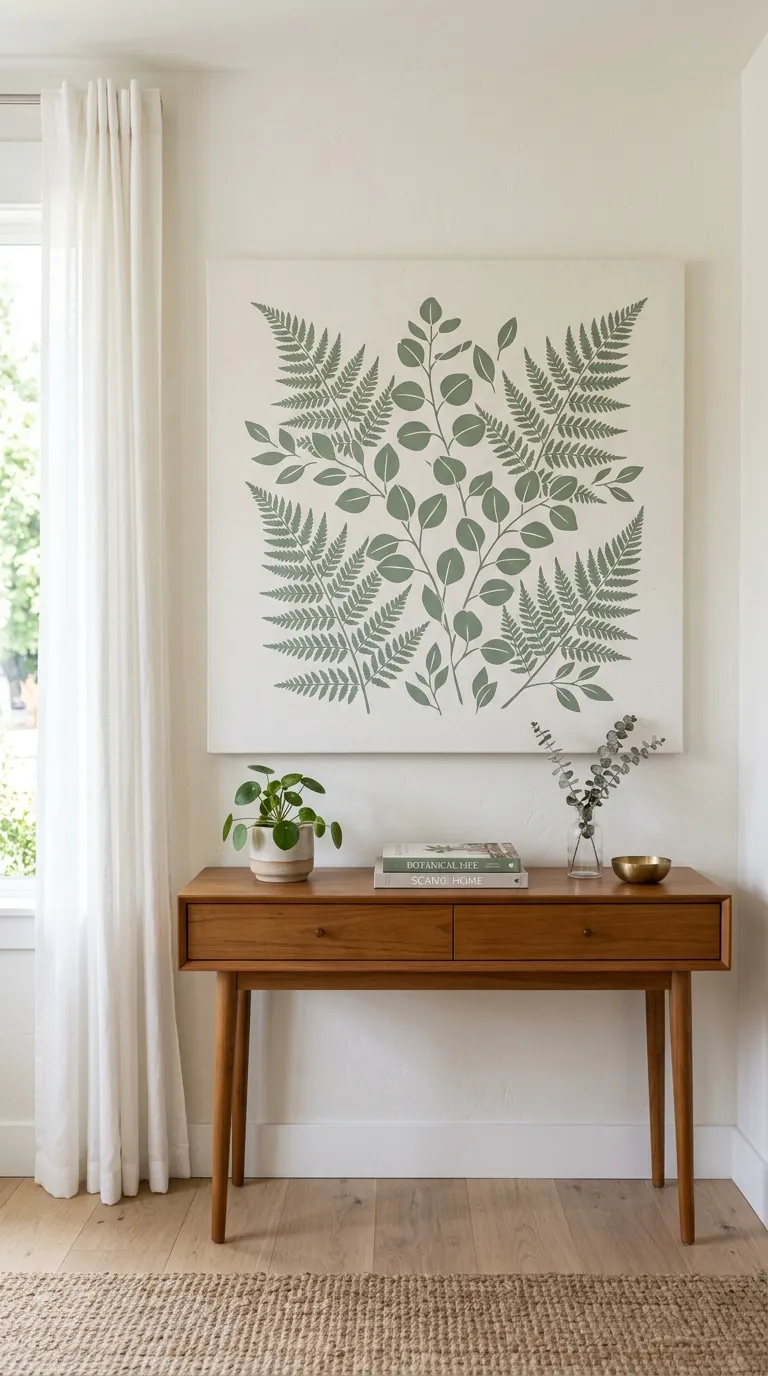
Stenciling lets you achieve a clean, precise design on canvas or directly on a wall using a pre-cut template, which removes the need for freehand drawing skill while still producing a polished, professional-looking result.
Use a stencil brush with a dabbing motion rather than a standard paintbrush stroke, and apply paint in thin layers to avoid bleeding under the stencil’s edges, which is the most common issue with this technique.
Best suited for: anyone wanting precise, repeatable patterns without freehand painting skill.
6. DIY Photo Collage Gallery Frame
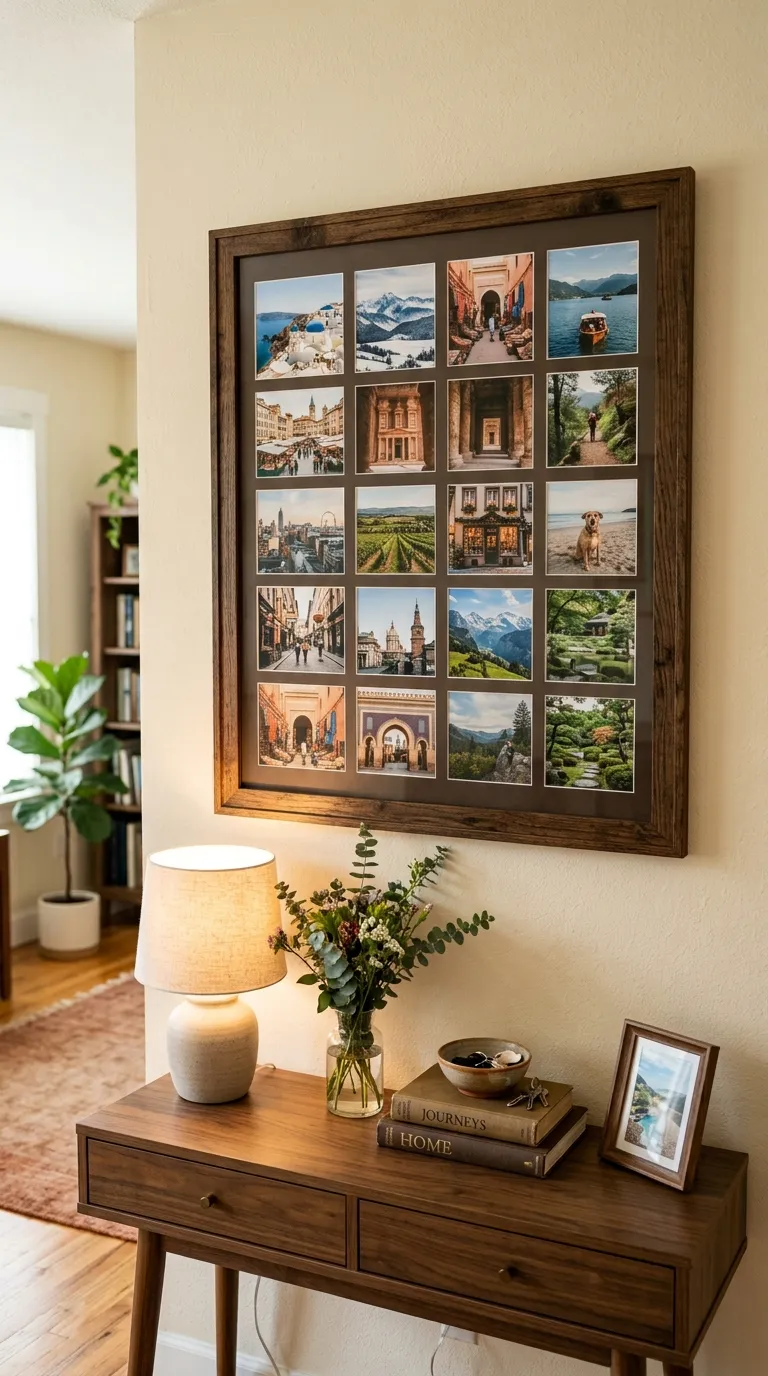
A collage-style frame combines several personal photos into a single cohesive display, giving you genuinely personal wall art without any painting or crafting skill required beyond basic photo selection and arrangement.
Convert photos to a consistent color treatment, either all black and white or all color, before printing, since mixing color and black-and-white photos in the same collage can look visually inconsistent.
Best suited for: anyone wanting personal, photo-based wall art with essentially no crafting skill required.
7. Painted Wood Slice Art
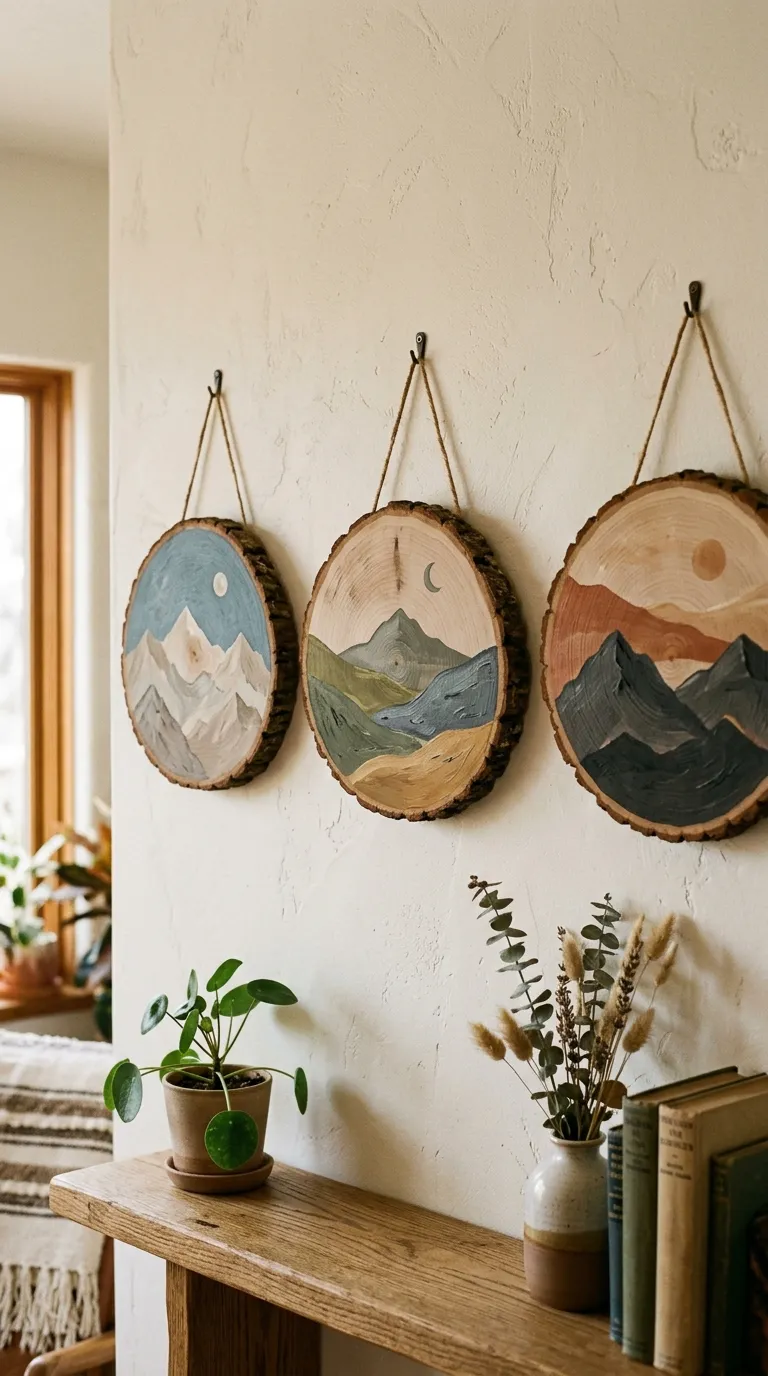
Painting a simple abstract design directly onto a natural wood slice combines the organic beauty of real wood grain with a painted focal element, creating a piece that feels more custom than a standard flat canvas.
Seal the wood slice with a clear finish before painting to prevent the wood from absorbing paint unevenly, and keep the painted design simple, like a silhouette or abstract shape, so the natural wood grain remains visible around it.
Best suited for: rustic and organic-modern interiors, and anyone with access to wood slices from a craft store or a fallen tree branch.
8. Macramé Wall Hanging
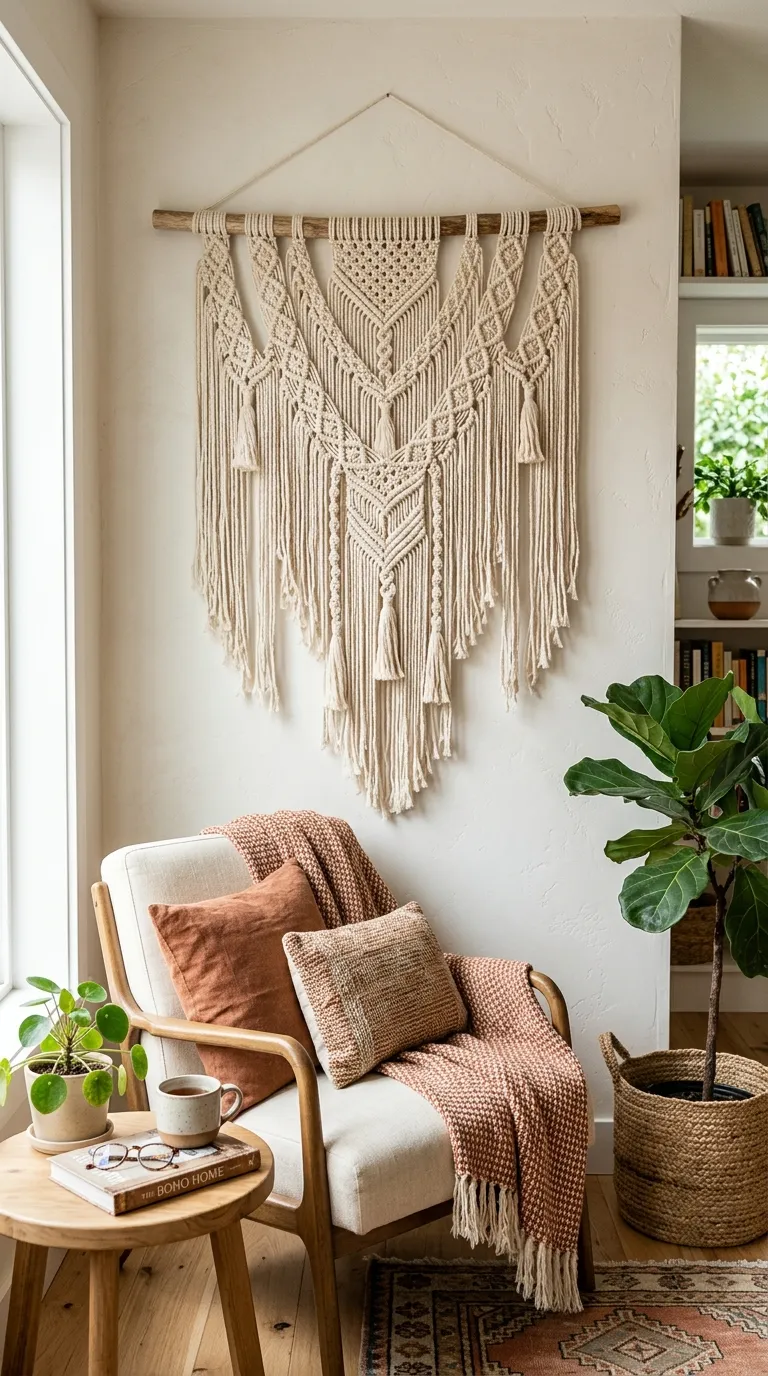
Macramé wall hangings use a series of basic knots repeated in patterns to create genuinely intricate-looking textile art, and while the finished pieces look complex, most macramé knots are simple to learn from basic tutorials.
Start with a small project using just two or three knot types before attempting a larger, more complex pattern, since building confidence with basic techniques makes larger projects significantly more manageable.
Best suited for: boho interiors and anyone willing to invest a few hours learning basic knotting technique.
9. Marbled Paper Wall Art
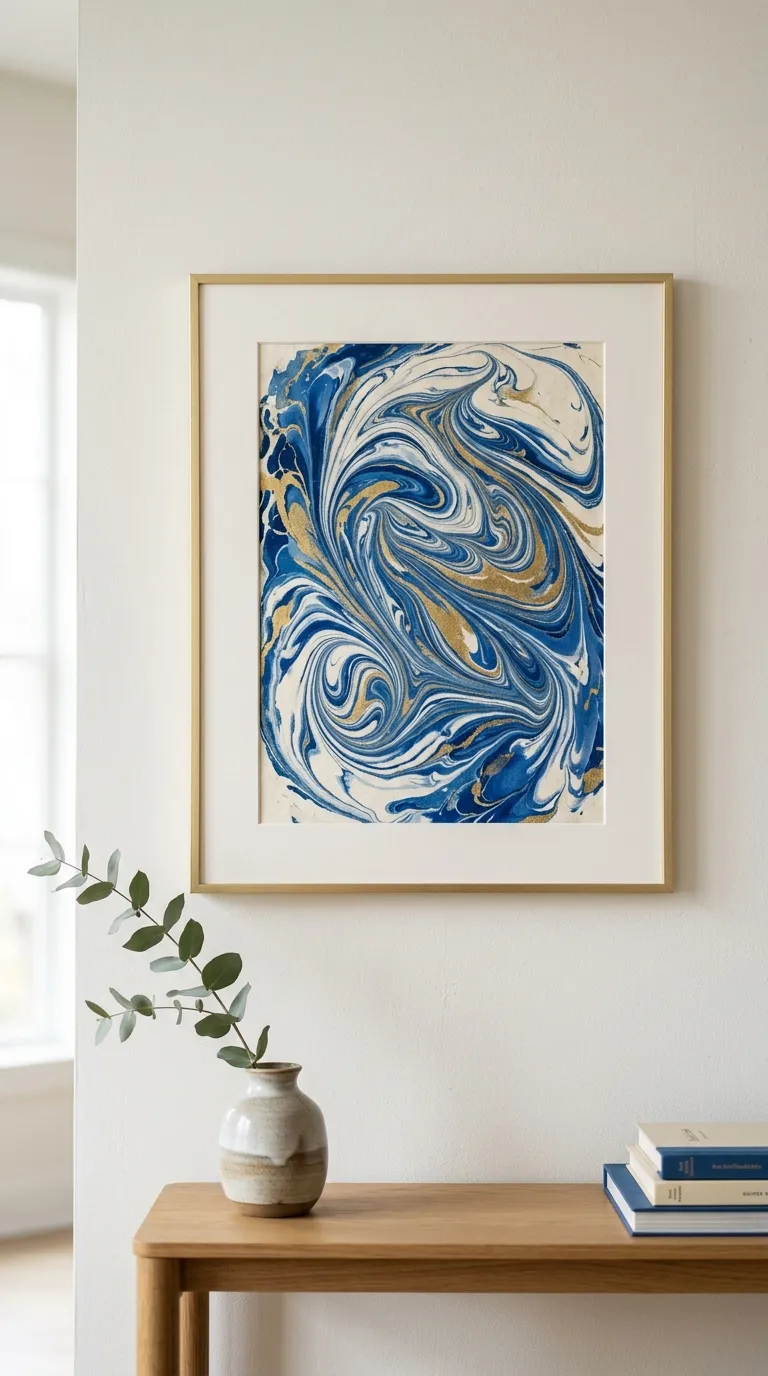
Paper marbling uses floating paint or ink on a liquid surface to create swirling, one-of-a-kind patterns that transfer onto paper, producing genuinely elegant results with a technique that requires practice but no drawing skill.
Practice the marbling technique on a few test sheets before committing to your final piece, since the process involves some trial and error to get comfortable with paint consistency and swirling technique.
Best suited for: anyone wanting an elegant, one-of-a-kind pattern and willing to practice the technique a few times.
10. String Art Design
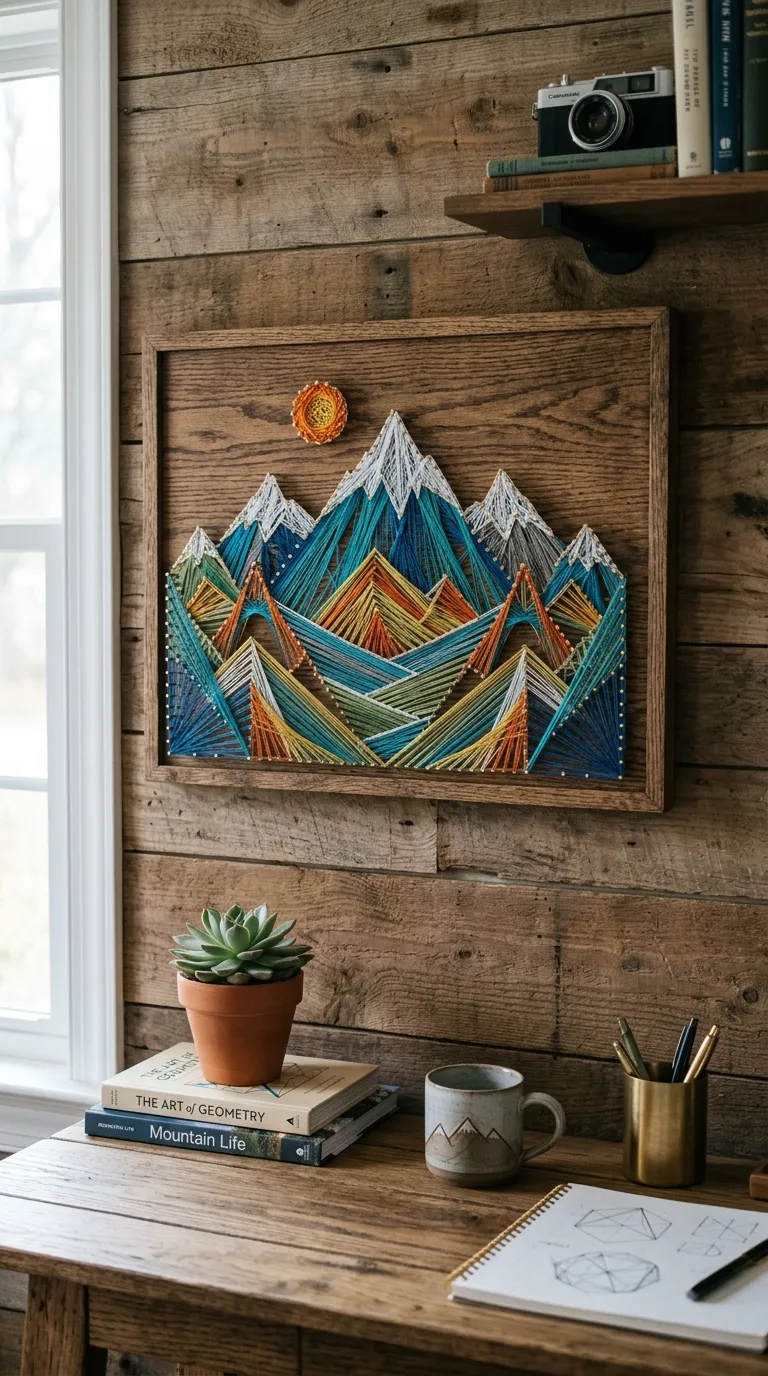
String art uses thread wrapped around small nails arranged in a pattern on a wood board, and the finished result creates a genuinely striking geometric or silhouette design once the thread pattern is complete.
Print or trace your chosen pattern onto the wood board first to guide accurate nail placement, since consistent nail spacing is what determines how clean and precise the final string pattern will look.
Best suited for: anyone wanting a precise, graphic result and willing to invest a couple of hours in the nailing and stringing process.
11. Embroidery Hoop Art
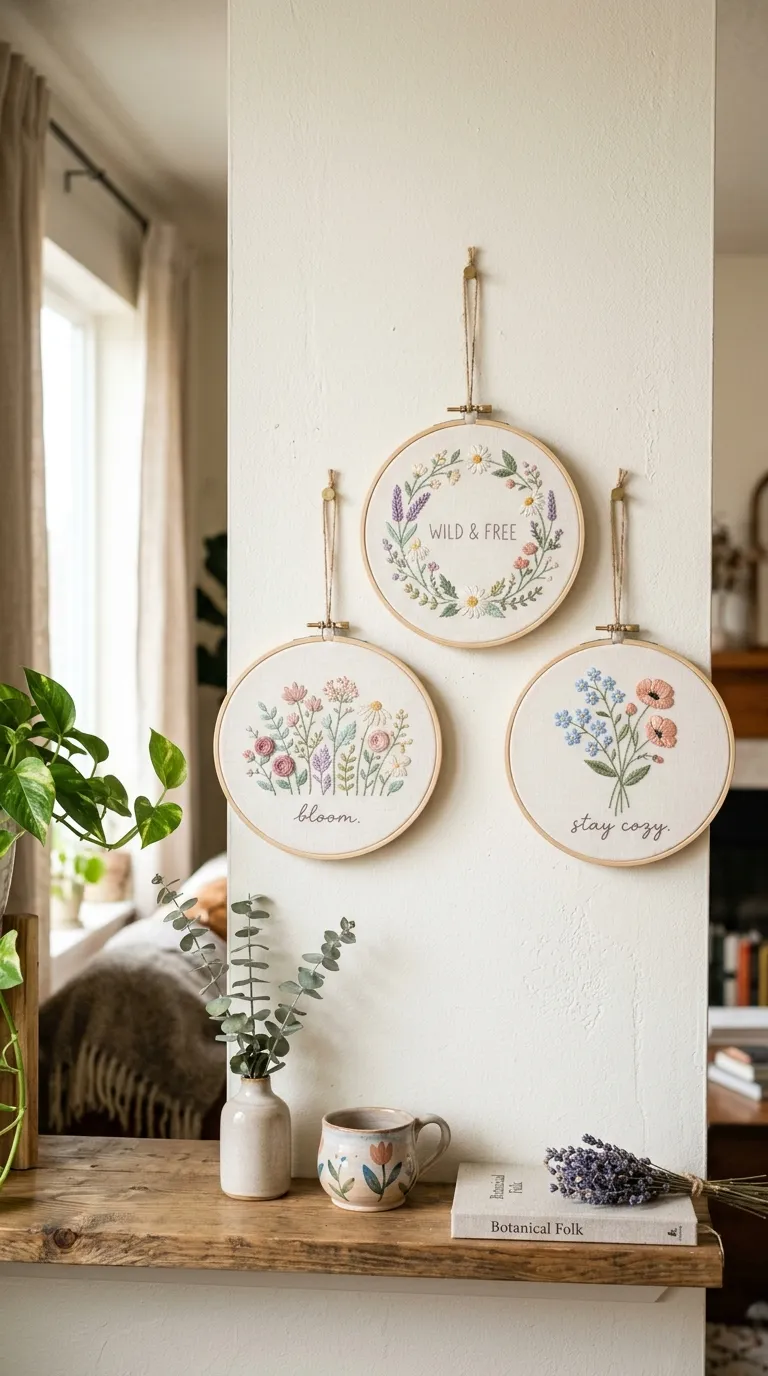
Embroidery hoop art uses basic stitches, like backstitch and satin stitch, to create simple designs directly within the hoop itself, which doubles as the display frame, eliminating the need for separate framing.
Start with a simple design using only two or three stitch types for a first project, since basic embroidery stitches are quick to learn and still produce a polished, professional-looking result.
Best suited for: beginners wanting to learn basic embroidery, and a relatively low-cost, small-scale project.
12. DIY Abstract Watercolor Print
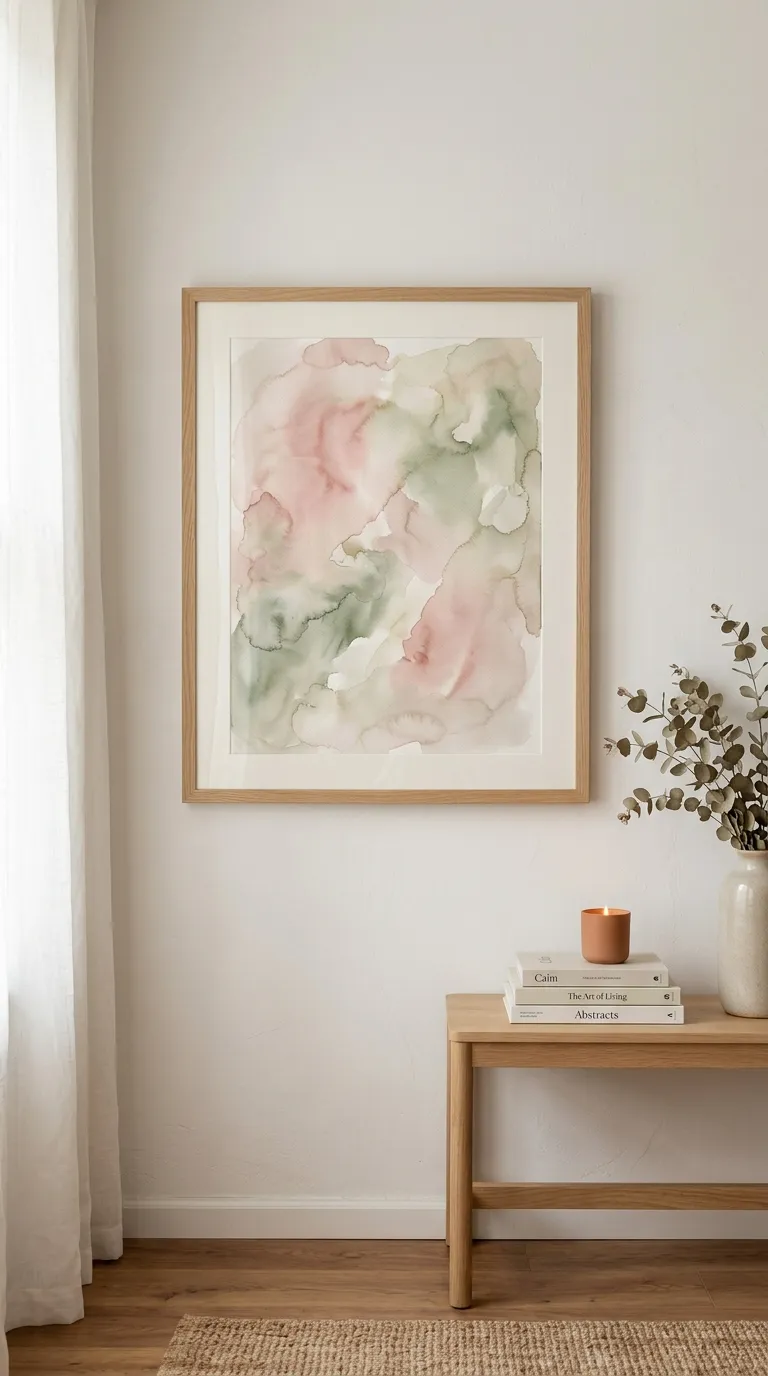
Loose, abstract watercolor washes, blending two or three colors together without a specific subject in mind, produce a soft, sophisticated piece of art that requires no drawing skill, only comfort with letting the paint move naturally on wet paper.
Work on paper specifically rated for watercolor, since standard printer or drawing paper will warp and buckle significantly once wet with paint.
Best suited for: anyone wanting a soft, calming abstract piece with minimal technical painting skill required.
13. Reclaimed Wood Pallet Art
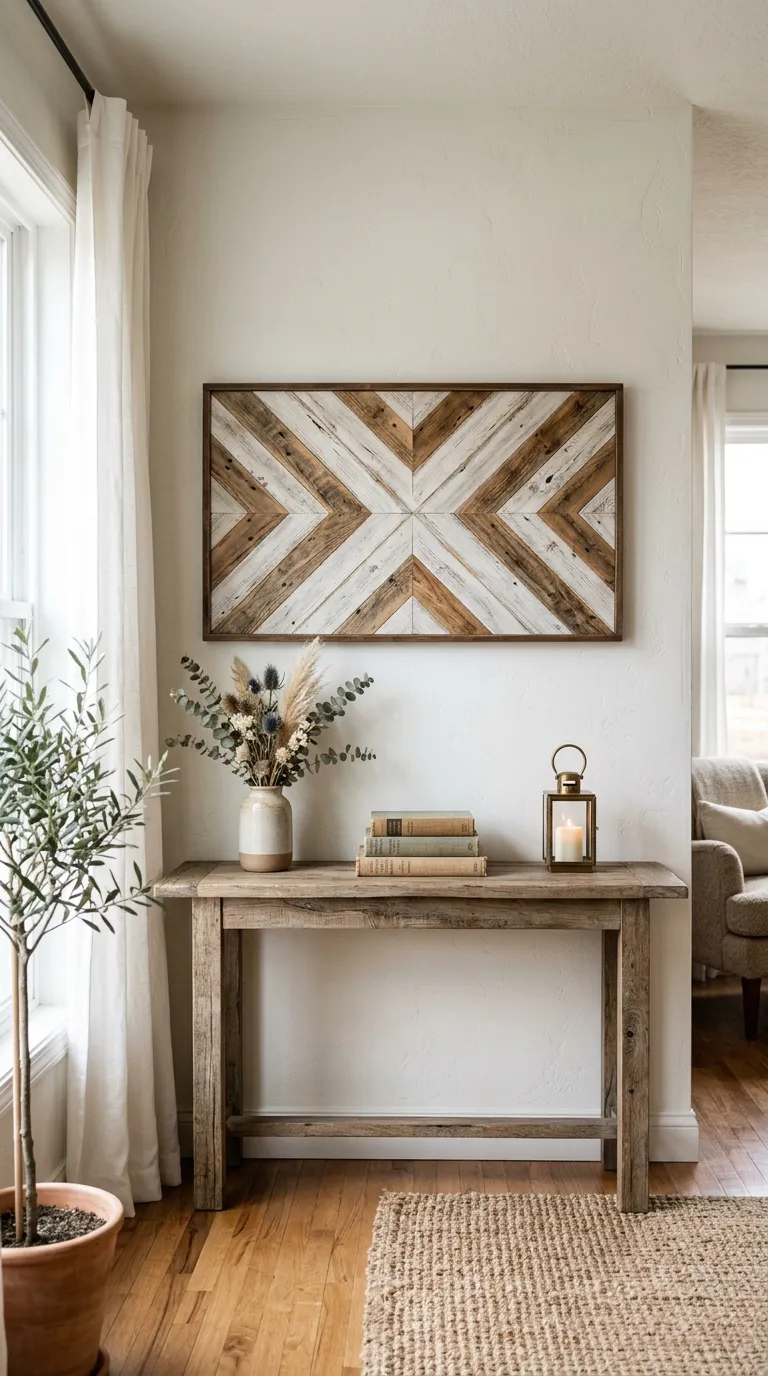
Disassembling and rearranging reclaimed pallet wood into a geometric wall panel turns free or low-cost salvaged material into a genuinely substantial piece of rustic wall art, often at a fraction of the cost of purchased wood paneling.
Sand the wood thoroughly and check carefully for nails, staples, or splinters before working with reclaimed pallet material, since pallets are not always food- ordécor-gradee and can contain hidden hardware.
Best suited for: farmhouse and rustic interiors, and anyone with access to free or low-cost reclaimed wood pallets.
14. Spray Paint Stencil Silhouette
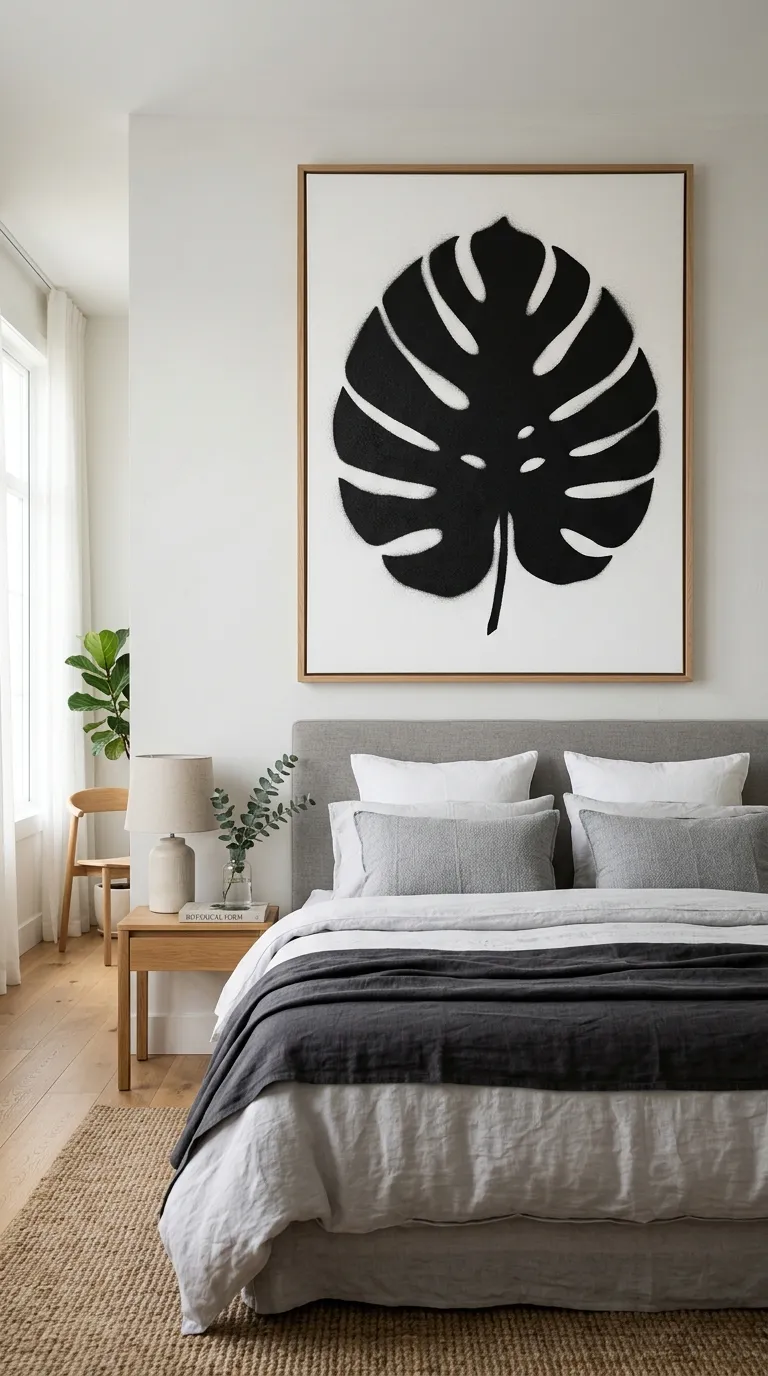
Using spray paint through a stencil creates crisp, bold silhouette designs quickly, and the technique works especially well for larger pieces where hand-painting fine detail with a brush would take significantly longer.
Work in a well-ventilated area or outdoors, and apply spray paint in several thin, even coats rather than one heavy coat, which prevents drips and gives a cleaner, more professional-looking edge.
Best suited for: larger pieces and anyone wanting a bold, graphic result with a relatively fast technique.
15. Paper Quilling Wall Art
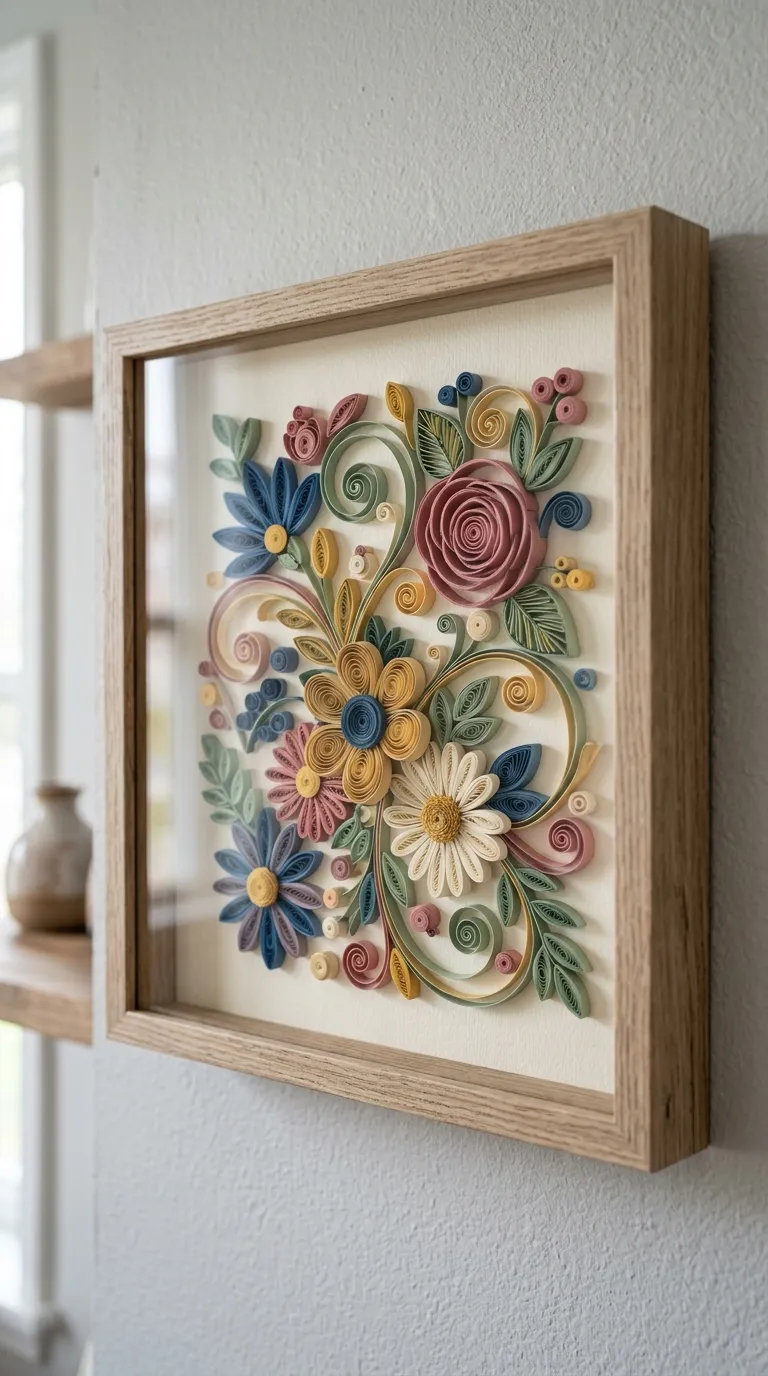
Paper quilling involves rolling thin strips of paper into tight coils and arranging them into detailed designs, producing a genuinely intricate, dimensional piece of art that stands out from flat painted or printed alternatives.
Use a shadow box frame rather than standard flat glass framing, since quilled paper art has real dimensional height that standard framing will crush against the glass.
Best suited for: patient crafters wanting a highly detailed, dimensional result, and a project well suited to a longer-term creative hobby.
16. Mixed Media Collage Art
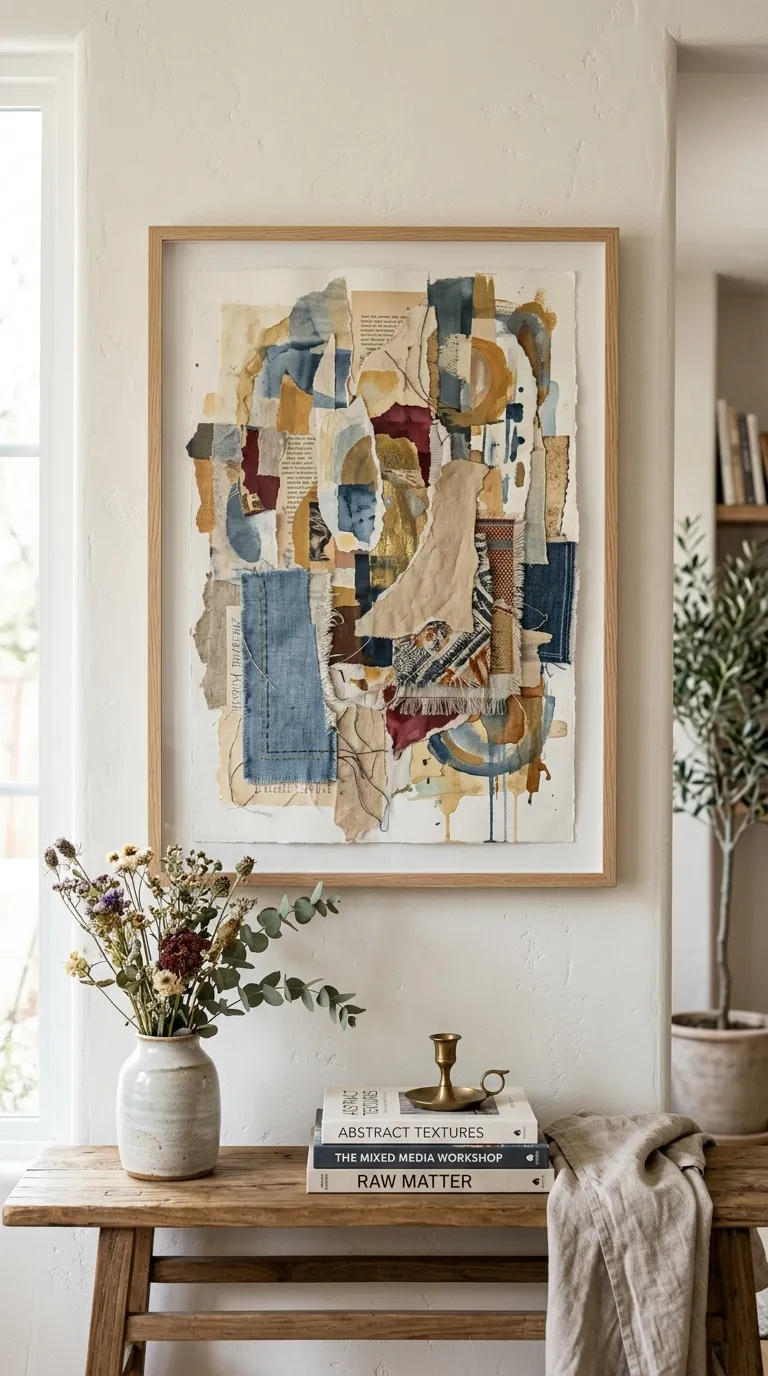
Mixed media collage combines paper, fabric, paint, and found materials into a single layered composition, and the technique is inherently forgiving since imperfections and overlapping materials are part of the intended aesthetic.
Plan a rough color palette before starting, limiting materials to two or three coordinated colors, since an unplanned mix of every material and color on hand tends to look chaotic rather than intentionally layered.
Best suited for: anyone wanting maximum creative freedom and a genuinely forgiving technique for a first-time art project.
17. Ombre Painted Canvas
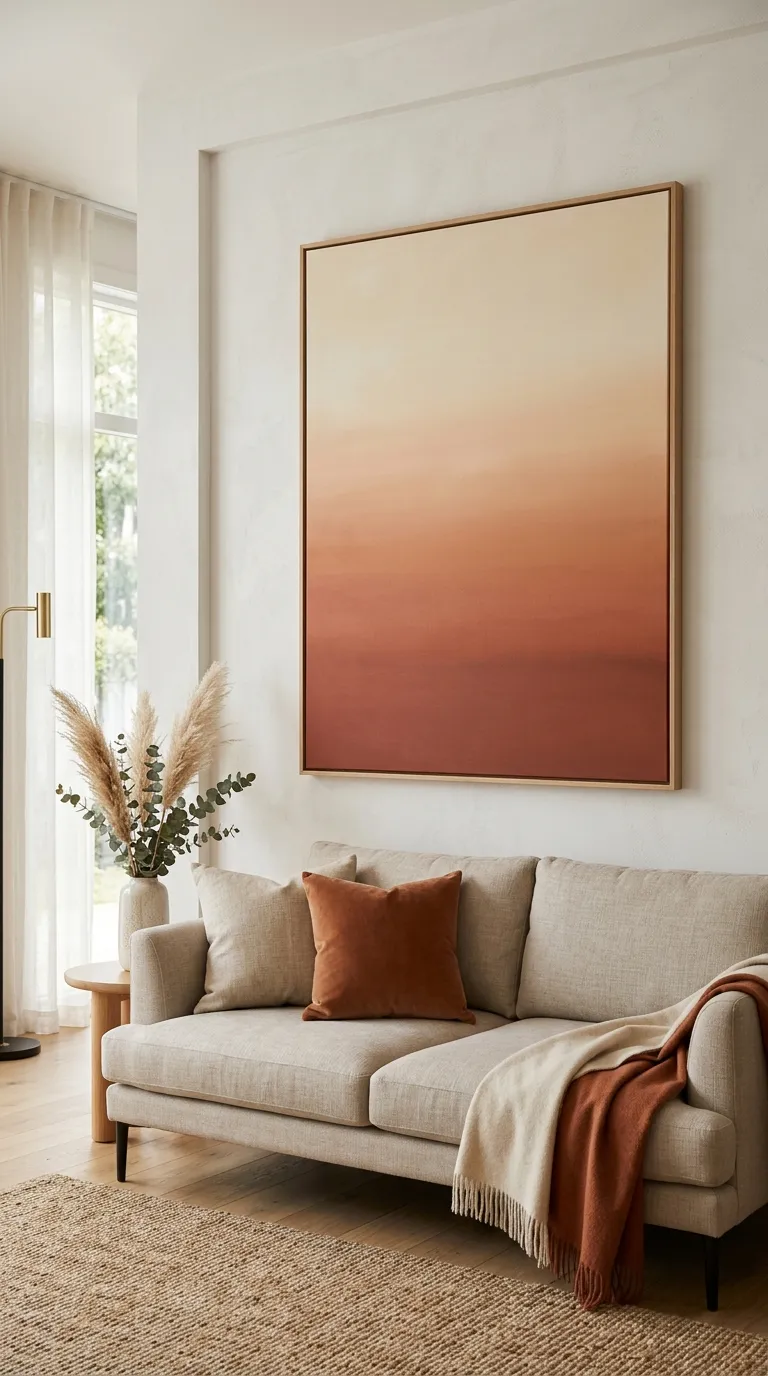
An ombre gradient canvas, blending one color smoothly into another or into white, creates a soft, sophisticated piece of wall art using only basic blending technique rather than any drawing or painting skill.
Work while the paint is still wet, blending adjacent color bands together with a clean, dry brush in smooth horizontal strokes, since the paint needs to stay workable long enough to achieve a seamless gradient transition.
Best suited for: beginners wanting a large, impactful piece with a genuinely simple technique.
Planning and Buying Tips
A few practical decisions up front will help your DIY wall art project turn out well and hold up over time, not just look good on the day it is finished.
● Choose canvas or panel size based on the wall’s actual dimensions — measure the intended wall space first, and size the art to roughly two-thirds of the available width for the most balanced proportion.
● Standard sizing to shop for — pre-stretched canvases commonly come in 16 by 20, 24 by 36, and 30 by 40 inch sizes, with larger sizes offering better value per square inch than smaller ones.
● Protect your workspace before starting any paint-based project — lay down a drop cloth or plastic sheeting, since paint pouring and spray painting in particular can create more mess than expected.
● Buy slightly more material than the project calls for — paint, thread, and paper often run short on a first attempt due to unexpected amounts used in test runs or corrections.
● Choose acrylic paint over craft paint for canvas projects — acrylic paint adheres better to canvas and holds color more vibrantly over time than lower-cost craft paints designed primarily for paper or wood.
● Plan framing costs into your budget from the start — a custom frame can cost more than the art materials themselves, so decide early whether the piece will be framed, mounted on a canvas, or displayed unframed.
Cost Breakdown: Budget, Mid-Range, and Premium Projects
DIY wall art costs vary significantly based on materials and scale, with most projects still costing far less than a comparable store-bought piece.
Budget ($10–$40)
Pressed botanicals, washi tape designs, embroidery hoop art, and small string art pieces fall in this range, often using materials already on hand or requiring only a small specialty purchase.
Mid-Range ($40–$150)
Larger paint pour canvases, macramé wall hangings, reclaimed wood pallet art, and framed marbled paper sit in this tier, with cost driven mainly by canvas size and any specialty materials like cord or wood.
Luxury / Premium ($150–$400+)
Very large canvases, professional-quality custom framing, and premium art supplies like artist-grade acrylic paint or high-quality embroidery thread fall here, with framing often representing the highest single cost.
Technique and Material Comparison
| Technique | Price Range | Skill Level | Time Investment | Best For |
| Paint pouring | $20–$80 | Beginner | 1–2 hours plus drying time | Bold, fluid abstract results with minimal skill |
| Pressed botanicals | $10–$40 | Beginner | 1–2 weeks pressing plus assembly | Delicate, natural-feeling art |
| Stenciling | $15–$50 | Beginner to intermediate | 1–3 hours | Clean, precise repeatable patterns |
| Macramé | $15–$60 | Intermediate | 2–5 hours | Textural, boho-style wall hangings |
| String art | $15–$40 | Intermediate | 2–4 hours | Precise geometric or silhouette designs |
| Paper quilling | $15–$50 | Intermediate to advanced | 3–8 hours | Highly detailed, dimensional art |
Care and Framing Tips
● Painted canvas — dust gently with a soft, dry cloth, and avoid hanging in direct sunlight for extended periods, which can cause acrylic paint colors to fade over time.
● Pressed botanicals — frame under UV-protective glass if possible, since pressed plant material fades and discolors faster than most other art media when exposed to consistent light.
● Textile and fiber art — vacuum gently with a brush attachment periodically to remove dust, and keep macramé and woven pieces away from areas with high humidity, which can encourage mold in natural fiber.
● Paper-based art — frame with acid-free matting and UV-protective glass, since standard paper and ink can yellow or fade noticeably faster without this protection.
● Mixed media pieces — check periodically for any loose elements, like fabric or paper edges lifting, and reattach with appropriate adhesive before the issue worsens.
● Common mistake to avoid — hanging any paper, fabric, or painted piece in direct, prolonged sunlight without UV protection, which is the most common cause of premature fading in DIY wall art.
Frequently Asked Questions
What is the easiest DIY wall art project for beginners?
Paint pouring, pressed botanicals, and ombre canvases are generally considered the easiest projects for beginners, since all three rely on simple techniques and material behavior rather than freehand drawing or painting skill.
How much does it cost to make DIY wall art?
Most DIY wall art projects cost between $10 and $150 depending on the technique and canvas size, which is typically significantly less than a comparable store-bought piece of similar scale and quality.
Do I need artistic talent to make good DIY wall art?
No — many popular techniques, including paint pouring, stenciling, pressed botanicals, and marbling, rely on material behavior and technique rather than freehand drawing or painting skill, making them accessible to complete beginners.
What size should DIY wall art be for a large wall?
For a large, mostly empty wall, aim for a single piece or grouped set covering roughly two-thirds of the wall’s width, which generally requires canvases in the 30 by 40 inch range or larger, or a multi-piece gallery arrangement.
How do I keep DIY wall art from fading over time?
Avoid hanging pieces in direct, prolonged sunlight, and use UV-protective glass when framing paper-based or pressed botanical art specifically, since these media are more prone to fading than painted canvas.
How to Choose the Right DIY Wall Art Idea for You
The right project depends on three factors: your available time, your comfort level with a bit of unpredictability in the process, and the style you want the finished piece to bring to your space. Beginners short on time do well with paint pouring or pressed botanicals, while those willing to invest more hours can take on macramé, string art, or paper quilling for a more detailed result.
Budget should guide material choice as much as technique — most projects on this list cost under $50 in materials, so the bigger cost variable is usually canvas size and whether the finished piece needs custom framing.
Finally, match the technique to your home’s existing style. Bold abstract paint pours and geometric string art suit modern spaces, while pressed botanicals, macramé, and reclaimed wood pieces lean more naturally into organic, boho, or farmhouse interiors.

- Be Respectful
- Stay Relevant
- Stay Positive
- True Feedback
- Encourage Discussion
- Avoid Spamming
- No Fake News
- Don't Copy-Paste
- No Personal Attacks
- Be Respectful
- Stay Relevant
- Stay Positive
- True Feedback
- Encourage Discussion
- Avoid Spamming
- No Fake News
- Don't Copy-Paste
- No Personal Attacks
